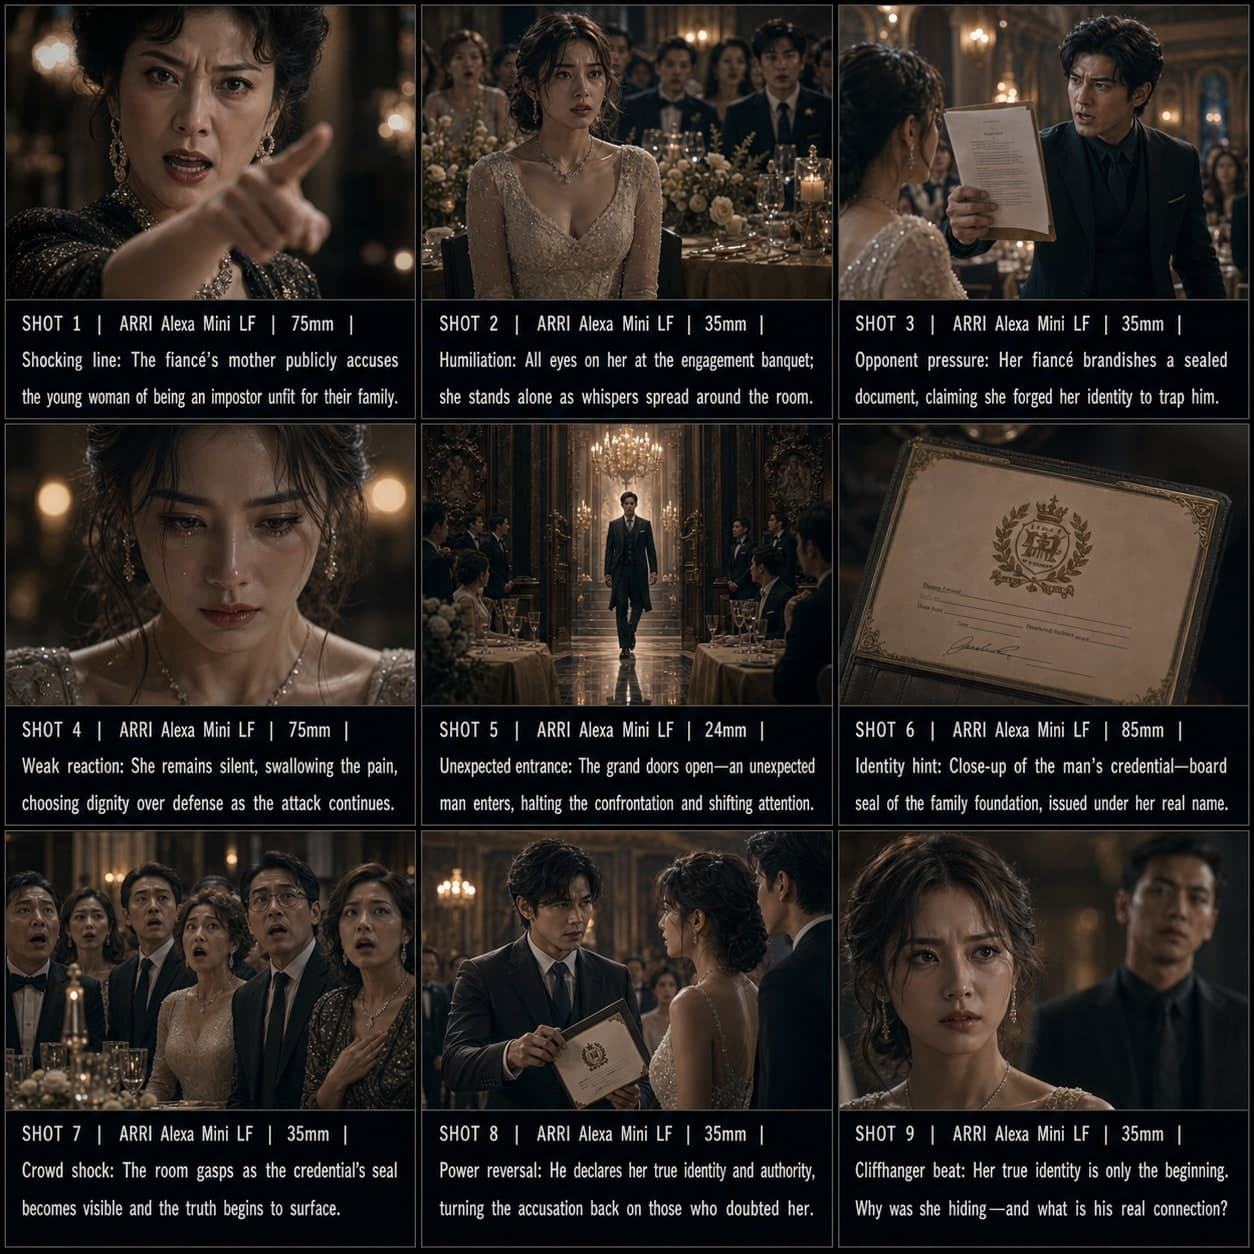
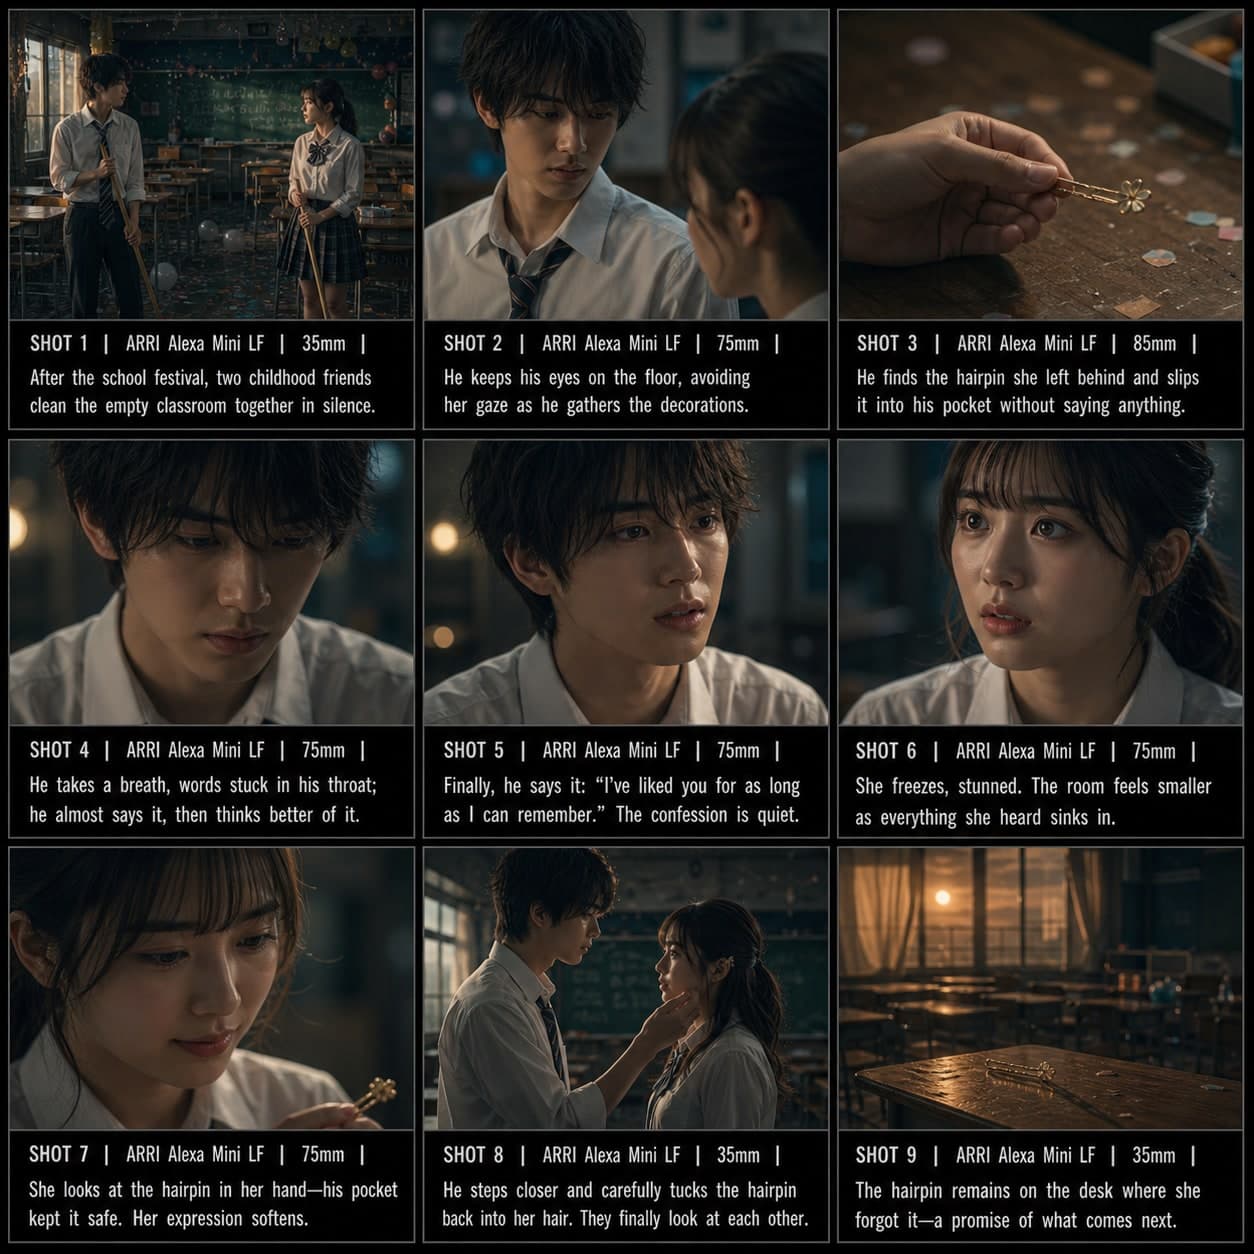
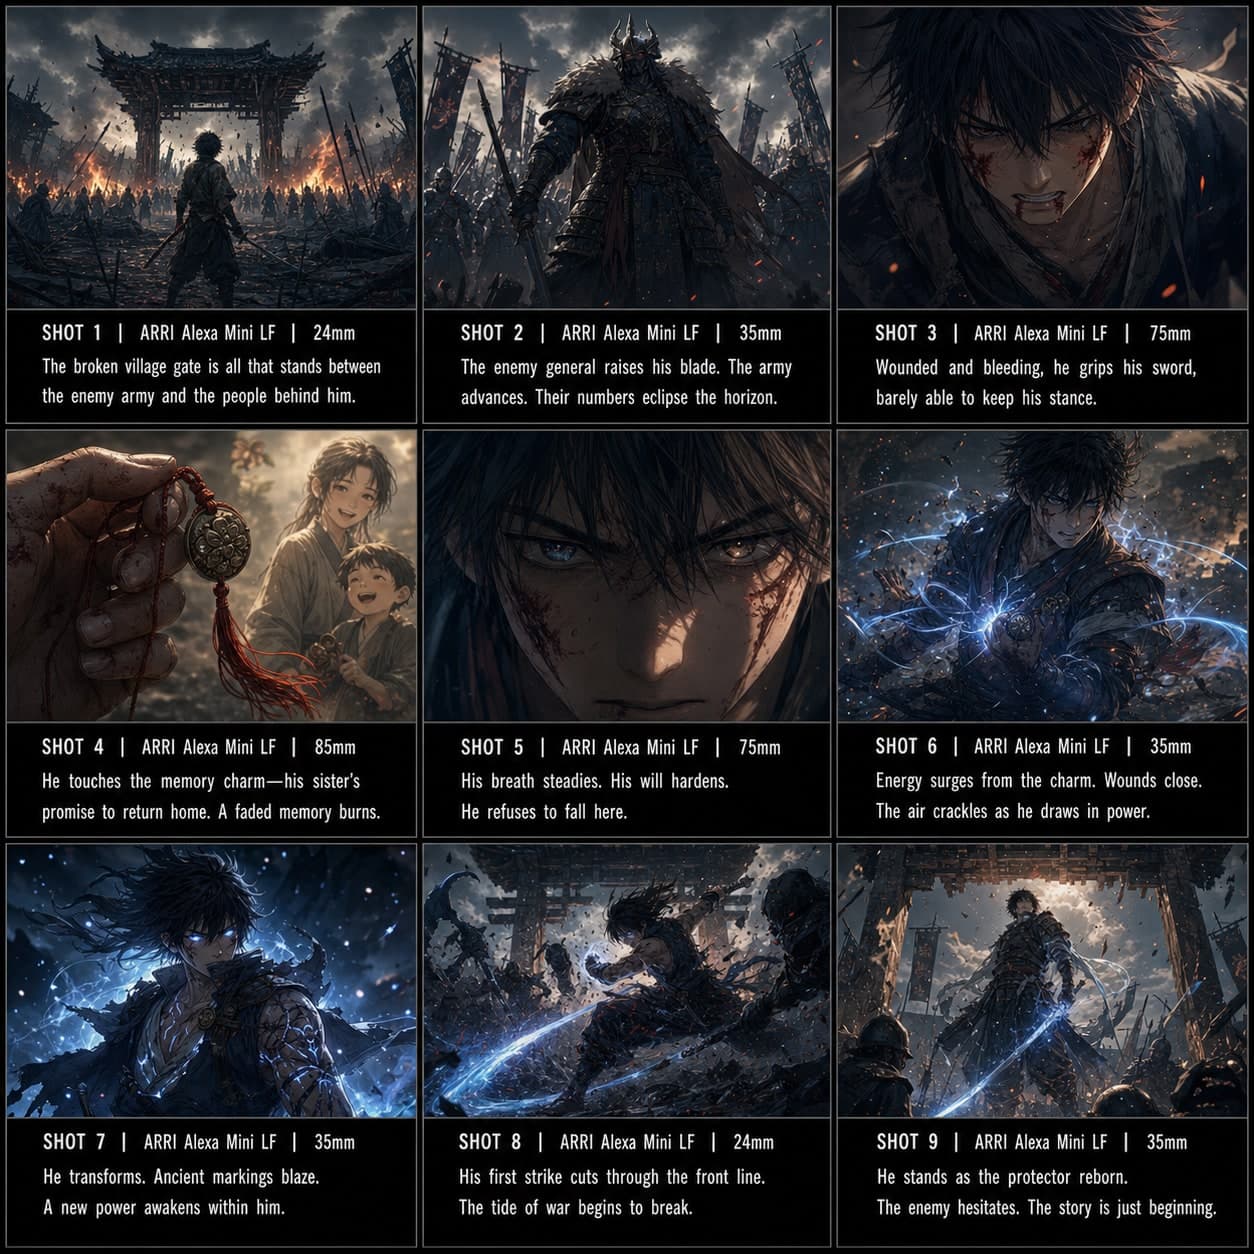
動漫角色登場分鏡模板
用動漫風格的戲劇性登場、反應鏡頭和標誌性英雄姿態介紹角色。適用於視覺小說的動漫角色分鏡模板。
這個模板的用途
用動漫風格的戲劇性登場、反應和存在感介紹角色。
何時使用
適用於
- 動漫角色登場
- 戲劇性入場
- 視覺小說開場
9 格序列結構
| # | 鏡頭 | 目的 | 機位 |
|---|---|---|---|
| 01 | 入場前環境 | 在角色出現前建立場景 | 全景 |
| 02 | 他人反應 | 展示其他人先感知或反應 | 反應中景 |
| 03 | 區域性揭示 | 揭示腳、手、背影或剪影細節 | 區域性特寫 |
| 04 | 標誌性剪影 | 展示強烈的剪影或逆光揭示 | 英雄剪影 |
| 05 | 面部揭示 | 清晰揭示角色面容 | 特寫 |
| 06 | 力量細節 | 展示眼睛、武器、飾品、氣場等象徵細節 | 插入特寫 |
| 07 | 人群震驚 | 展示周圍人的驚訝或恐懼反應 | 群體反應 |
| 08 | 英雄姿態 | 給角色一個令人難忘的姿勢或構圖 | 英雄中全景 |
| 09 | 故事鉤子 | 以暗示衝突或下一步行動的畫面結束 | 方向性終幕 |
01入場前環境
在角色出現前建立場景
全景
02他人反應
展示其他人先感知或反應
反應中景
03區域性揭示
揭示腳、手、背影或剪影細節
區域性特寫
04標誌性剪影
展示強烈的剪影或逆光揭示
英雄剪影
05面部揭示
清晰揭示角色面容
特寫
06力量細節
展示眼睛、武器、飾品、氣場等象徵細節
插入特寫
07人群震驚
展示周圍人的驚訝或恐懼反應
群體反應
08英雄姿態
給角色一個令人難忘的姿勢或構圖
英雄中全景
09故事鉤子
以暗示衝突或下一步行動的畫面結束
方向性終幕
你的故事
用一句話描述你的場景或故事,下方 Prompt 會實時更新。留空則使用示例故事。
Prompt 預覽
Create a square 3x3 2048x2048 storyboard grid as a cinematic storyboard infographic showing introduce a character with dramatic anime-style entrance, reaction, and presence: A new student enters a magic academy classroom during a power test. Before the face reveal, the room reacts to flickering lights, a strange emblem, and a silhouette that makes everyone go silent.

Use dark moody high-end film stills, realistic lighting, subtle teal-and-amber color grade, shallow depth of field, atmospheric dust and shadows. Maintain consistent subject identity, wardrobe, location type, visual medium, lighting, and color palette across all panels. If a reference image is provided, use it as the visual anchor for the subject, world, and style; if no reference image is provided, synthesize one coherent world from the story.

Plan the 9 storyboard panels yourself from the story and the template rhythm, then render the final infographic. Story facts must not change: preserve the named relationship, setting, key object, reveal, cause, and emotional meaning from the story. Do not replace the story's key object with a different document, incident, crime, accident, or backstory.

Arrange the storyboard in a clean 3x3 grid with thin black borders. Each tile must have a large crop-safe cinematic image area and a separate dark information strip below it. The image area must contain no text, labels, captions, UI, watermarks, or typography. Put all written information only in the strip below each image.

Sequence rhythm: Environment → others react → partial reveal → silhouette → face → power detail → crowd shock → hero pose → story hook

Use this template structure as the shot grammar, but adapt every panel to the concrete story:
1. Environment before entrance (top-left) — Wide, 24mm. Purpose: Establish the setting before the character appears. Suggested strip pattern: "SHOT 1 | ARRI Alexa Mini LF | 24mm | [write the concrete story beat you plan for this panel]"
2. Reaction from others (top-center) — Reaction medium, 35mm. Purpose: Show others sensing or reacting first. Suggested strip pattern: "SHOT 2 | ARRI Alexa Mini LF | 35mm | [write the concrete story beat you plan for this panel]"
3. Partial reveal (top-right) — Partial close-up, 75mm. Purpose: Reveal feet, hand, back, or silhouette detail. Suggested strip pattern: "SHOT 3 | ARRI Alexa Mini LF | 75mm | [write the concrete story beat you plan for this panel]"
4. Iconic silhouette (middle-left) — Hero silhouette, 35mm. Purpose: Show a strong silhouette or backlit reveal. Suggested strip pattern: "SHOT 4 | ARRI Alexa Mini LF | 35mm | [write the concrete story beat you plan for this panel]"
5. Face reveal (center) — Close-up, 75mm. Purpose: Reveal the character's face clearly. Suggested strip pattern: "SHOT 5 | ARRI Alexa Mini LF | 75mm | [write the concrete story beat you plan for this panel]"
6. Power detail (middle-right) — Insert close-up, 85mm. Purpose: Show symbolic detail like eyes, weapon, accessory, aura. Suggested strip pattern: "SHOT 6 | ARRI Alexa Mini LF | 85mm | [write the concrete story beat you plan for this panel]"
7. Crowd shock (bottom-left) — Group reaction, 35mm. Purpose: Show surrounding people reacting with surprise or fear. Suggested strip pattern: "SHOT 7 | ARRI Alexa Mini LF | 35mm | [write the concrete story beat you plan for this panel]"
8. Hero pose (bottom-center) — Hero medium wide, 24mm. Purpose: Give the character a memorable pose or framing. Suggested strip pattern: "SHOT 8 | ARRI Alexa Mini LF | 24mm | [write the concrete story beat you plan for this panel]"
9. Story hook (bottom-right) — Directional final frame, 35mm. Purpose: End on a frame suggesting conflict or next action. Suggested strip pattern: "SHOT 9 | ARRI Alexa Mini LF | 35mm | [write the concrete story beat you plan for this panel]"

Each information strip must show the planned panel title, shot metadata, and the concrete story beat in plain English. The strip text must include the story's key object and reveal where relevant, so the sequence cannot be mistaken for a different incident. Use clear numbered scene titles, compact metadata, and concise action subtitles in the information strips. Use plain text only: no emojis, no decorative symbols, no fake app UI text, and no real brand logos or copyrighted marks. Make each panel visually distinct through shot scale, camera angle, lens feeling, blocking, foreground/background layering, and subject movement. Exactly 9 panels, no extra panels, no merged panels, no duplicate compositions, no speech bubbles, no lorem ipsum, high-detail professional storyboard sheet.
複製 Prompt 後,連同參考圖貼上到 ChatGPT 即可生成分鏡表。 chatgpt.com →