Modèle de storyboard Entrée de personnage anime
Introduire un personnage avec une entrée dramatique style anime, des plans de réaction et une pose héros iconique. Un modèle de storyboard de personnage anime pour les visual novels.
À quoi sert ce modèle
Introduire un personnage avec une entrée dramatique style anime, une réaction et une présence.
Quand l'utiliser
Idéal pour
- introductions de personnages anime
- entrées dramatiques
- ouvertures de visual novels
Structure de séquence à 9 panneaux
| # | Plan | Objectif | Caméra |
|---|---|---|---|
| 01 | Environnement avant l'entrée | Établir le décor avant l'apparition du personnage | Plan large |
| 02 | Réaction des autres | Montrer les autres qui perçoivent ou réagissent en premier | Plan moyen réaction |
| 03 | Révélation partielle | Révéler pieds, main, dos ou détail en silhouette | Gros plan partiel |
| 04 | Silhouette iconique | Montrer une silhouette forte ou une révélation en contre-jour | Silhouette héroïque |
| 05 | Révélation du visage | Révéler clairement le visage du personnage | Gros plan |
| 06 | Détail de puissance | Montrer un détail symbolique : yeux, arme, accessoire, aura | Insert gros plan |
| 07 | Choc de la foule | Montrer les personnes autour réagissant avec surprise ou peur | Réaction de groupe |
| 08 | Pose héroïque | Donner au personnage une pose ou un cadrage mémorable | Plan moyen large héroïque |
| 09 | Accroche narrative | Terminer sur une image suggérant conflit ou prochaine action | Plan final directionnel |
Établir le décor avant l'apparition du personnage
Montrer les autres qui perçoivent ou réagissent en premier
Révéler pieds, main, dos ou détail en silhouette
Montrer une silhouette forte ou une révélation en contre-jour
Révéler clairement le visage du personnage
Montrer un détail symbolique : yeux, arme, accessoire, aura
Montrer les personnes autour réagissant avec surprise ou peur
Donner au personnage une pose ou un cadrage mémorable
Terminer sur une image suggérant conflit ou prochaine action
Votre histoire
Décrivez votre scène ou histoire en une phrase. Le prompt ci-dessous se met à jour en temps réel. Laissez vide pour utiliser l'exemple.
Aperçu du Prompt
Create a square 3x3 2048x2048 storyboard grid as a cinematic storyboard infographic showing introduce a character with dramatic anime-style entrance, reaction, and presence: A new student enters a magic academy classroom during a power test. Before the face reveal, the room reacts to flickering lights, a strange emblem, and a silhouette that makes everyone go silent.

Use dark moody high-end film stills, realistic lighting, subtle teal-and-amber color grade, shallow depth of field, atmospheric dust and shadows. Maintain consistent subject identity, wardrobe, location type, visual medium, lighting, and color palette across all panels. If a reference image is provided, use it as the visual anchor for the subject, world, and style; if no reference image is provided, synthesize one coherent world from the story.

Plan the 9 storyboard panels yourself from the story and the template rhythm, then render the final infographic. Story facts must not change: preserve the named relationship, setting, key object, reveal, cause, and emotional meaning from the story. Do not replace the story's key object with a different document, incident, crime, accident, or backstory.

Arrange the storyboard in a clean 3x3 grid with thin black borders. Each tile must have a large crop-safe cinematic image area and a separate dark information strip below it. The image area must contain no text, labels, captions, UI, watermarks, or typography. Put all written information only in the strip below each image.

Sequence rhythm: Environment → others react → partial reveal → silhouette → face → power detail → crowd shock → hero pose → story hook

Use this template structure as the shot grammar, but adapt every panel to the concrete story:
1. Environment before entrance (top-left) — Wide, 24mm. Purpose: Establish the setting before the character appears. Suggested strip pattern: "SHOT 1 | ARRI Alexa Mini LF | 24mm | [write the concrete story beat you plan for this panel]"
2. Reaction from others (top-center) — Reaction medium, 35mm. Purpose: Show others sensing or reacting first. Suggested strip pattern: "SHOT 2 | ARRI Alexa Mini LF | 35mm | [write the concrete story beat you plan for this panel]"
3. Partial reveal (top-right) — Partial close-up, 75mm. Purpose: Reveal feet, hand, back, or silhouette detail. Suggested strip pattern: "SHOT 3 | ARRI Alexa Mini LF | 75mm | [write the concrete story beat you plan for this panel]"
4. Iconic silhouette (middle-left) — Hero silhouette, 35mm. Purpose: Show a strong silhouette or backlit reveal. Suggested strip pattern: "SHOT 4 | ARRI Alexa Mini LF | 35mm | [write the concrete story beat you plan for this panel]"
5. Face reveal (center) — Close-up, 75mm. Purpose: Reveal the character's face clearly. Suggested strip pattern: "SHOT 5 | ARRI Alexa Mini LF | 75mm | [write the concrete story beat you plan for this panel]"
6. Power detail (middle-right) — Insert close-up, 85mm. Purpose: Show symbolic detail like eyes, weapon, accessory, aura. Suggested strip pattern: "SHOT 6 | ARRI Alexa Mini LF | 85mm | [write the concrete story beat you plan for this panel]"
7. Crowd shock (bottom-left) — Group reaction, 35mm. Purpose: Show surrounding people reacting with surprise or fear. Suggested strip pattern: "SHOT 7 | ARRI Alexa Mini LF | 35mm | [write the concrete story beat you plan for this panel]"
8. Hero pose (bottom-center) — Hero medium wide, 24mm. Purpose: Give the character a memorable pose or framing. Suggested strip pattern: "SHOT 8 | ARRI Alexa Mini LF | 24mm | [write the concrete story beat you plan for this panel]"
9. Story hook (bottom-right) — Directional final frame, 35mm. Purpose: End on a frame suggesting conflict or next action. Suggested strip pattern: "SHOT 9 | ARRI Alexa Mini LF | 35mm | [write the concrete story beat you plan for this panel]"

Each information strip must show the planned panel title, shot metadata, and the concrete story beat in plain English. The strip text must include the story's key object and reveal where relevant, so the sequence cannot be mistaken for a different incident. Use clear numbered scene titles, compact metadata, and concise action subtitles in the information strips. Use plain text only: no emojis, no decorative symbols, no fake app UI text, and no real brand logos or copyrighted marks. Make each panel visually distinct through shot scale, camera angle, lens feeling, blocking, foreground/background layering, and subject movement. Exactly 9 panels, no extra panels, no merged panels, no duplicate compositions, no speech bubbles, no lorem ipsum, high-detail professional storyboard sheet.
Copiez le prompt et collez-le dans ChatGPT avec votre image de référence pour générer un storyboard. chatgpt.com →
Modèles similaires
 3×3
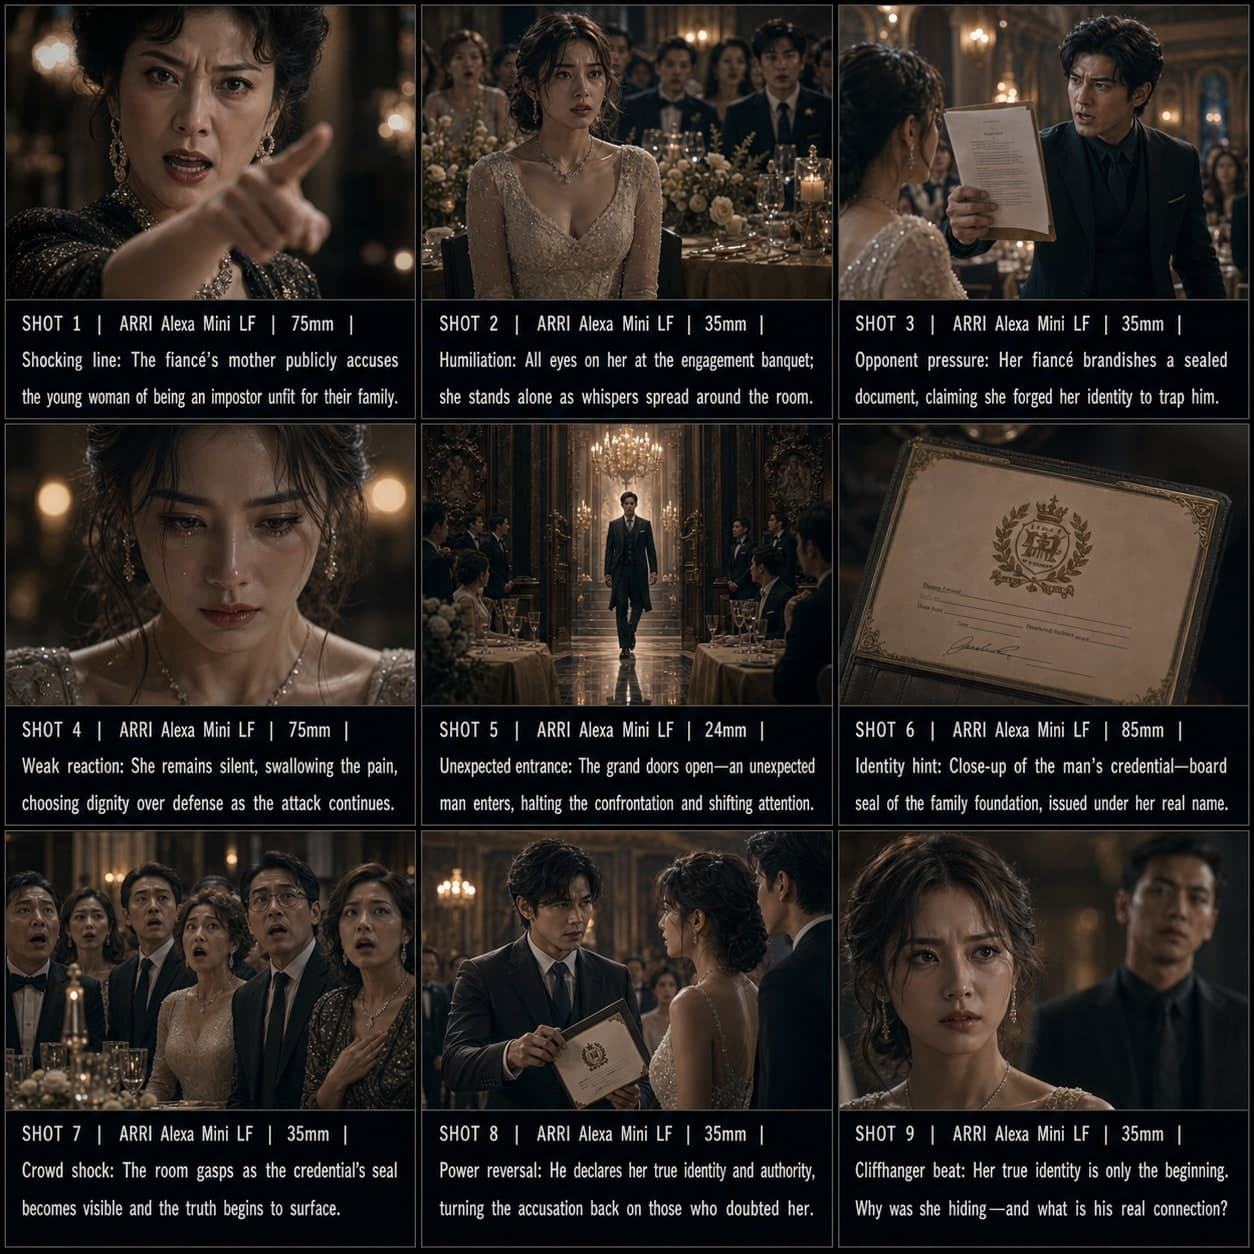
3×3Modèle de storyboard Accroche drama manhua
Créer une ouverture de court-métrage dramatique à haute tension avec une énergie de cliffhanger instantanée. Un modèle de storyboard drama manhua pour les séquences d'accroche de conflit.
 3×3
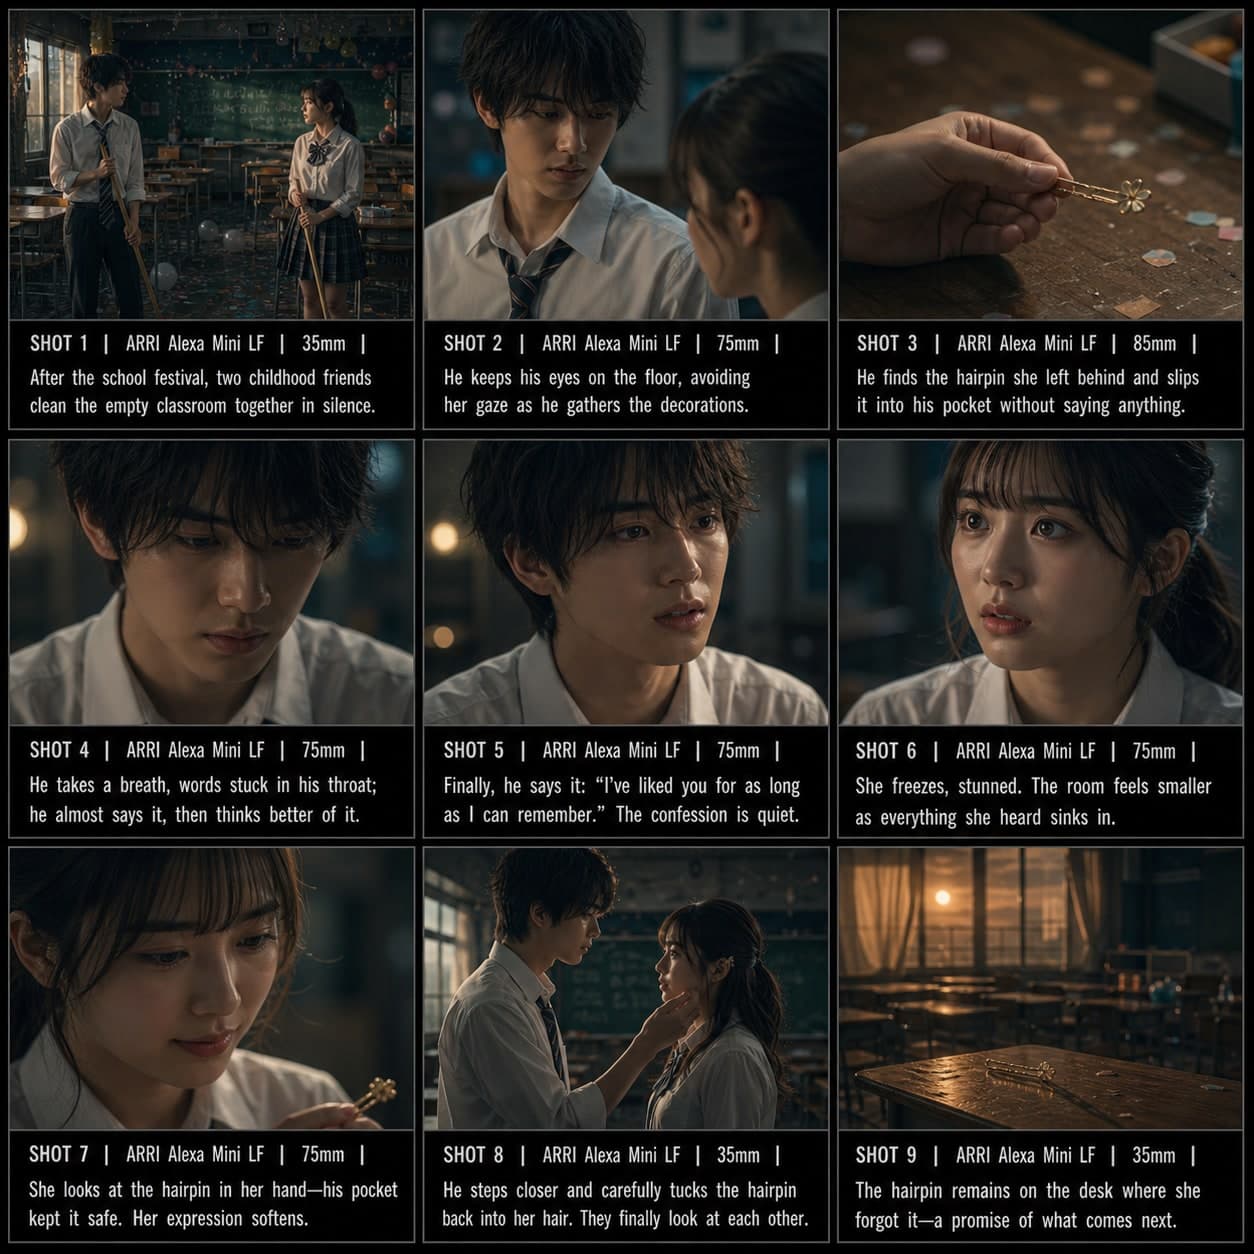
3×3Modèle de storyboard Confession romantique
Structurer une confession romantique avec hésitation, vulnérabilité et intimité émotionnelle. Un modèle de storyboard de confession romantique pour les scènes anime et drama.
 3×3
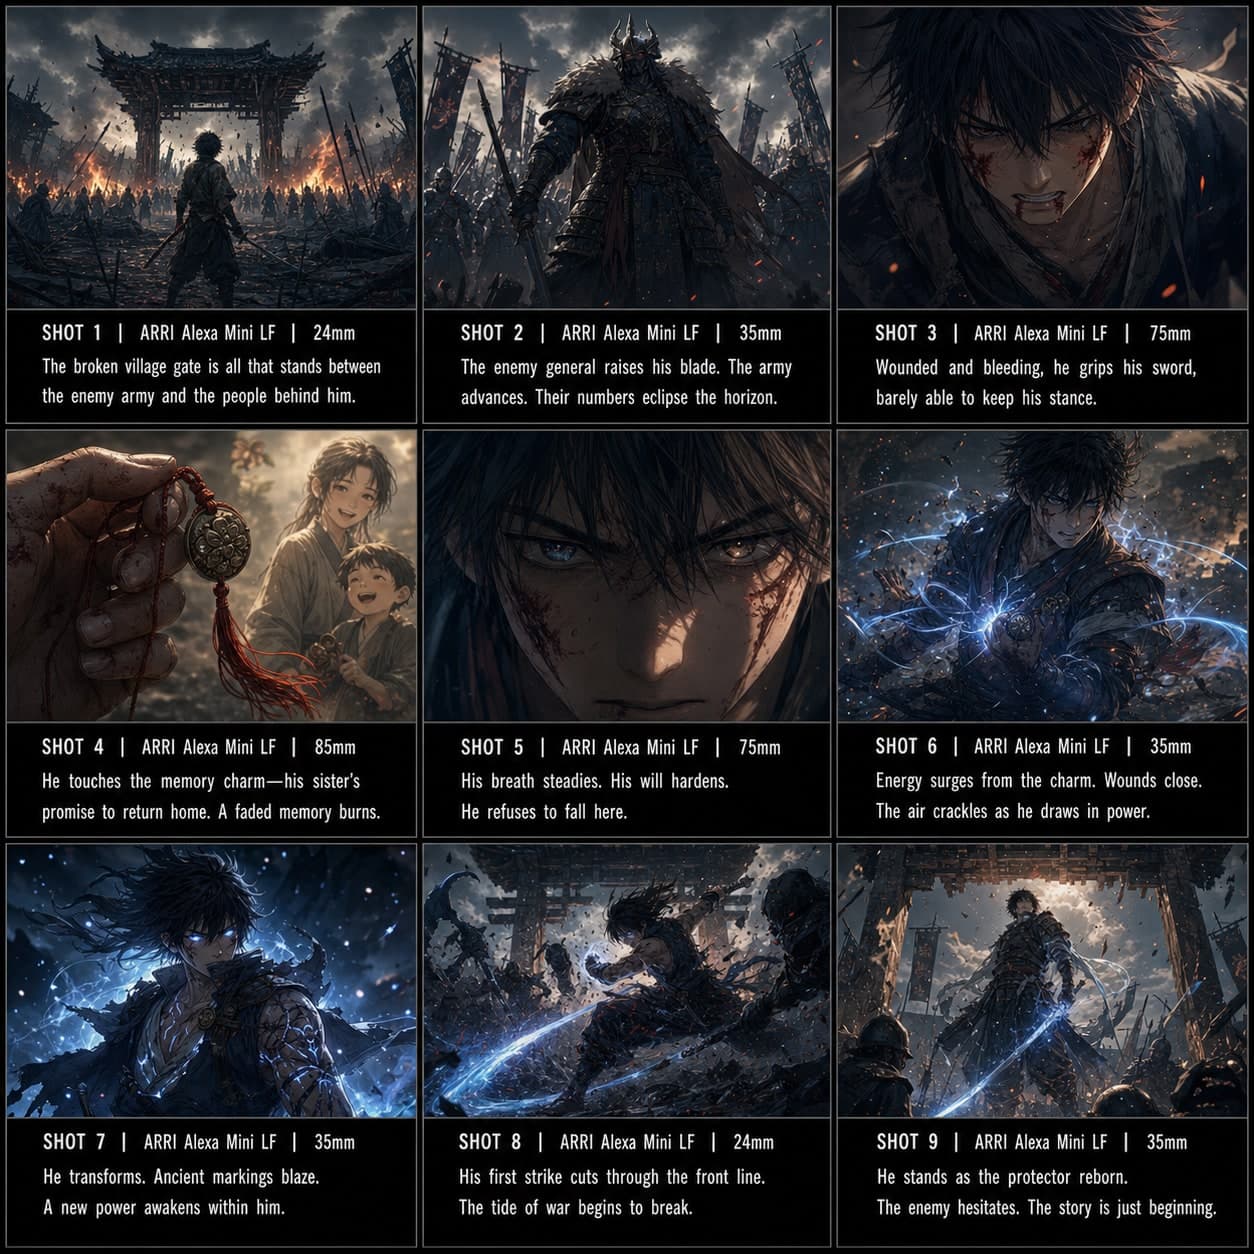
3×3Modèle de storyboard Combat / Power-up
Construire une séquence d'éveil ou de power-up style anime avant une contre-attaque décisive. Un modèle de storyboard de combat pour les scènes d'action anime.