Modello di storyboard Tutorial passo passo
Spiegare un processo in passaggi ordinati con errori comuni, correzioni e controllo finale. Un modello di storyboard tutorial per video esplicativi.
A cosa serve questo modello
Spiegare un processo in passaggi ordinati.
Quando usarlo
Ideale per
- tutorial
- guide pratiche
- contenuti educativi
Struttura di sequenza a 9 pannelli
| # | Inquadratura | Scopo | Camera |
|---|---|---|---|
| 01 | Obiettivo o risultato | Mostrare l'obiettivo finale | Anteprima risultato |
| 02 | Punto di partenza | Mostrare il setup iniziale | Campo lungo |
| 03 | Passo 1 | Prima azione | Demo |
| 04 | Passo 2 | Seconda azione | Demo |
| 05 | Passo 3 | Terza azione | Demo |
| 06 | Errore comune | Mostrare cosa può andare storto | Piano errore |
| 07 | Correzione o consiglio | Mostrare la correzione | Dettaglio |
| 08 | Verifica finale | Confermare il completamento | Piano verifica |
| 09 | Riepilogo o prossima azione | Chiudere con il messaggio chiave | Piano riepilogo |
Mostrare l'obiettivo finale
Mostrare il setup iniziale
Prima azione
Seconda azione
Terza azione
Mostrare cosa può andare storto
Mostrare la correzione
Confermare il completamento
Chiudere con il messaggio chiave
La tua storia
Descrivi la tua scena o storia in una frase. Il prompt sottostante si aggiorna in tempo reale. Lascia vuoto per usare l'esempio.
Anteprima Prompt
Create a square 3x3 2048x2048 storyboard grid as a cinematic storyboard infographic showing explain a process in ordered steps: A barista teaches latte art by showing the goal first, then milk texture, pour angle, common mistakes, correction, final check, and the finished rosetta. Each panel is a teachable step, not just a montage.

Use dark moody high-end film stills, realistic lighting, subtle teal-and-amber color grade, shallow depth of field, atmospheric dust and shadows. Maintain consistent subject identity, wardrobe, location type, visual medium, lighting, and color palette across all panels. If a reference image is provided, use it as the visual anchor for the subject, world, and style; if no reference image is provided, synthesize one coherent world from the story.

Plan the 9 storyboard panels yourself from the story and the template rhythm, then render the final infographic. Story facts must not change: preserve the named relationship, setting, key object, reveal, cause, and emotional meaning from the story. Do not replace the story's key object with a different document, incident, crime, accident, or backstory.

Arrange the storyboard in a clean 3x3 grid with thin black borders. Each tile must have a large crop-safe cinematic image area and a separate dark information strip below it. The image area must contain no text, labels, captions, UI, watermarks, or typography. Put all written information only in the strip below each image.

Sequence rhythm: Goal → starting point → step 1-2-3 → common mistake → fix → check → summary

Use this template structure as the shot grammar, but adapt every panel to the concrete story:
1. Goal or outcome (top-left) — Result preview, 35mm. Purpose: Show end goal. Suggested strip pattern: "SHOT 1 | ARRI Alexa Mini LF | 35mm | [write the concrete story beat you plan for this panel]"
2. Starting point (top-center) — Wide, 24mm. Purpose: Show initial setup. Suggested strip pattern: "SHOT 2 | ARRI Alexa Mini LF | 24mm | [write the concrete story beat you plan for this panel]"
3. Step 1 (top-right) — Demo, 35mm. Purpose: First action. Suggested strip pattern: "SHOT 3 | ARRI Alexa Mini LF | 35mm | [write the concrete story beat you plan for this panel]"
4. Step 2 (middle-left) — Demo, 35mm. Purpose: Second action. Suggested strip pattern: "SHOT 4 | ARRI Alexa Mini LF | 35mm | [write the concrete story beat you plan for this panel]"
5. Step 3 (center) — Demo, 35mm. Purpose: Third action. Suggested strip pattern: "SHOT 5 | ARRI Alexa Mini LF | 35mm | [write the concrete story beat you plan for this panel]"
6. Common mistake (middle-right) — Error frame, 35mm. Purpose: Show what can go wrong. Suggested strip pattern: "SHOT 6 | ARRI Alexa Mini LF | 35mm | [write the concrete story beat you plan for this panel]"
7. Fix or tip (bottom-left) — Detail, 75mm. Purpose: Show correction. Suggested strip pattern: "SHOT 7 | ARRI Alexa Mini LF | 75mm | [write the concrete story beat you plan for this panel]"
8. Final check (bottom-center) — Check frame, 35mm. Purpose: Confirm completion. Suggested strip pattern: "SHOT 8 | ARRI Alexa Mini LF | 35mm | [write the concrete story beat you plan for this panel]"
9. Summary or next action (bottom-right) — Summary frame, 35mm. Purpose: End with takeaway. Suggested strip pattern: "SHOT 9 | ARRI Alexa Mini LF | 35mm | [write the concrete story beat you plan for this panel]"

Each information strip must show the planned panel title, shot metadata, and the concrete story beat in plain English. The strip text must include the story's key object and reveal where relevant, so the sequence cannot be mistaken for a different incident. Use clear numbered scene titles, compact metadata, and concise action subtitles in the information strips. Use plain text only: no emojis, no decorative symbols, no fake app UI text, and no real brand logos or copyrighted marks. Make each panel visually distinct through shot scale, camera angle, lens feeling, blocking, foreground/background layering, and subject movement. Exactly 9 panels, no extra panels, no merged panels, no duplicate compositions, no speech bubbles, no lorem ipsum, high-detail professional storyboard sheet.
Copia il prompt e incollalo in ChatGPT insieme alla tua immagine di riferimento per generare uno storyboard. chatgpt.com →
Modelli correlati
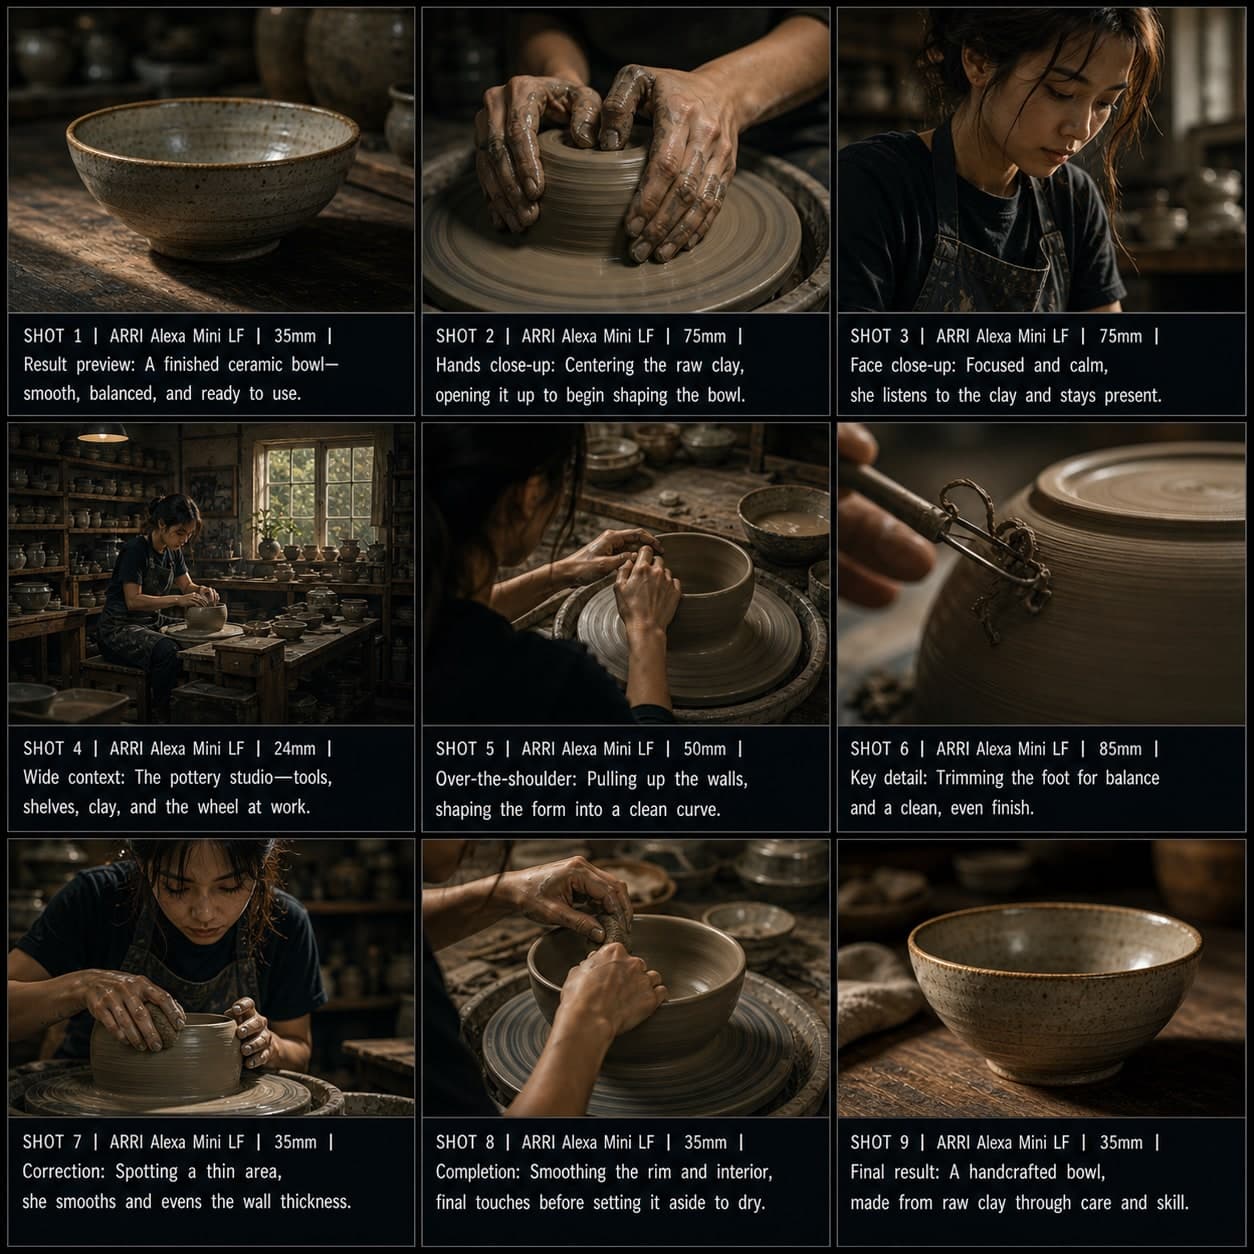 3×3
3×3Modello di storyboard Processo in cinque inquadrature
Mostrare qualcuno che fa qualcosa attraverso una copertura visiva essenziale — risultato, mani, viso, contesto, dettaglio. Un modello di storyboard di processo per i maker.
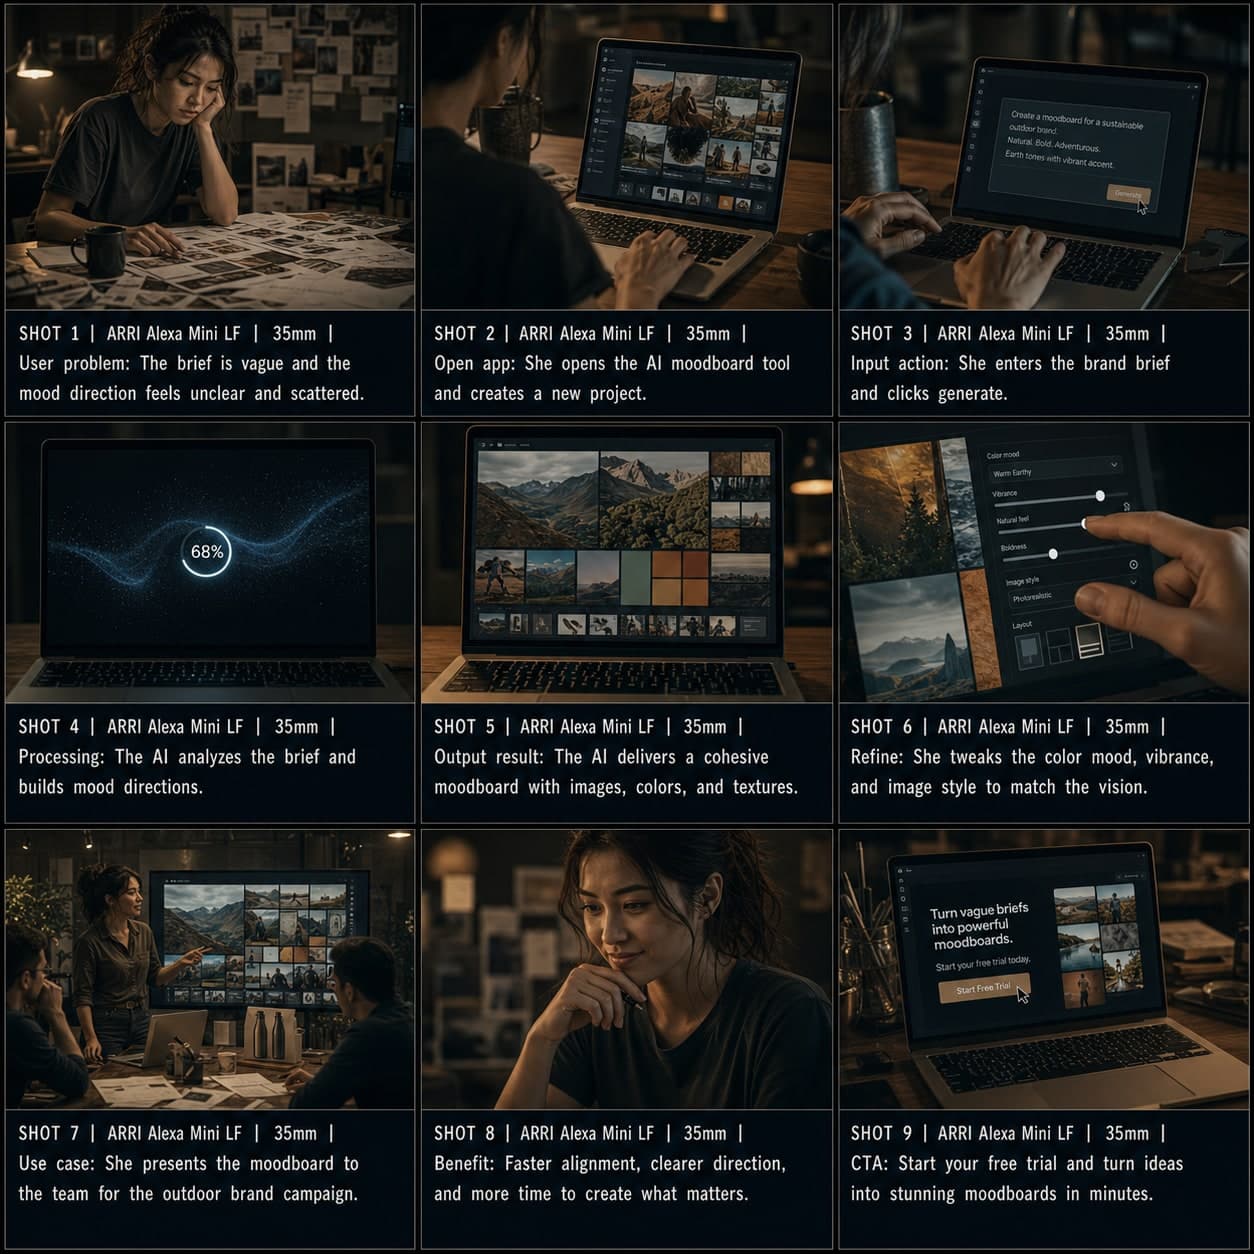 3×3
3×3Modello di storyboard Demo App / SaaS
Dimostrare un workflow software o strumento IA dal problema all'input, output e CTA. Un modello di storyboard demo app per video di presentazione SaaS.