Modello di storyboard Rivelazione del colpo di scena
Piazzare indizi sotto una falsa ipotesi, poi ricontestualizzare tutto con un colpo di scena drammatico. Un modello di storyboard mistero a 9 pannelli per thriller e suspense.
A cosa serve questo modello
Piazzare indizi sotto una falsa ipotesi, poi ricontestualizzare tutto con un colpo di scena drammatico.
Quando usarlo
Ideale per
- colpi di scena
- rivelazioni misteriose
- finali thriller
Struttura di sequenza a 9 pannelli
| # | Inquadratura | Scopo | Camera |
|---|---|---|---|
| 01 | Setup della falsa ipotesi | Stabilire ciò che il pubblico crede vero | Campo lungo |
| 02 | Indizio sottile | Piazzare il primo indizio che il pubblico può perdere | Insert |
| 03 | L'escalation conferma la falsa credenza | Rinforzare l'ipotesi sbagliata | Piano medio |
| 04 | Indizio nascosto in bella vista | Mostrare un secondo indizio mascherato da dettaglio normale | Insert primo piano |
| 05 | Convinzione del personaggio | Il personaggio agisce con piena convinzione sulla base sbagliata | Primo piano |
| 06 | Verità esposta | Rivelare la vera informazione che cambia tutto | Piano eroico rivelazione |
| 07 | Ricontestualizzazione | Le scene precedenti ora hanno un senso diverso | Piano montaggio / flashback |
| 08 | Impatto emotivo | Mostrare cosa significa per il personaggio | Primo piano stretto |
| 09 | Nuova traiettoria | Chiudere su un mondo fondamentalmente cambiato | Campo lungo finale |
Stabilire ciò che il pubblico crede vero
Piazzare il primo indizio che il pubblico può perdere
Rinforzare l'ipotesi sbagliata
Mostrare un secondo indizio mascherato da dettaglio normale
Il personaggio agisce con piena convinzione sulla base sbagliata
Rivelare la vera informazione che cambia tutto
Le scene precedenti ora hanno un senso diverso
Mostrare cosa significa per il personaggio
Chiudere su un mondo fondamentalmente cambiato
La tua storia
Descrivi la tua scena o storia in una frase. Il prompt sottostante si aggiorna in tempo reale. Lascia vuoto per usare l'esempio.
Anteprima Prompt
Create a square 3x3 2048x2048 storyboard grid as a cinematic storyboard infographic showing plant clues under a false assumption, then recontextualize everything with a dramatic twist: A detective reconstructs a murder from a set of photographs and believes the victim's partner is innocent. One overlooked reflection reveals the partner staged the entire scene, turning every previous clue against him.

Use dark moody high-end film stills, realistic lighting, subtle teal-and-amber color grade, shallow depth of field, atmospheric dust and shadows. Maintain consistent subject identity, wardrobe, location type, visual medium, lighting, and color palette across all panels. If a reference image is provided, use it as the visual anchor for the subject, world, and style; if no reference image is provided, synthesize one coherent world from the story.

Plan the 9 storyboard panels yourself from the story and the template rhythm, then render the final infographic. Story facts must not change: preserve the named relationship, setting, key object, reveal, cause, and emotional meaning from the story. Do not replace the story's key object with a different document, incident, crime, accident, or backstory.

Arrange the storyboard in a clean 3x3 grid with thin black borders. Each tile must have a large crop-safe cinematic image area and a separate dark information strip below it. The image area must contain no text, labels, captions, UI, watermarks, or typography. Put all written information only in the strip below each image.

Sequence rhythm: False setup → subtle clue → escalation → hidden clue → conviction → truth exposed → recontextualization → emotional impact → new trajectory

Use this template structure as the shot grammar, but adapt every panel to the concrete story:
1. False assumption setup (top-left) — Wide, 24mm. Purpose: Establish what the audience believes is true. Suggested strip pattern: "SHOT 1 | ARRI Alexa Mini LF | 24mm | [write the concrete story beat you plan for this panel]"
2. Subtle clue (top-center) — Insert, 85mm. Purpose: Plant first hint the audience can miss. Suggested strip pattern: "SHOT 2 | ARRI Alexa Mini LF | 85mm | [write the concrete story beat you plan for this panel]"
3. Escalation confirms false belief (top-right) — Medium, 35mm. Purpose: Reinforce the wrong assumption. Suggested strip pattern: "SHOT 3 | ARRI Alexa Mini LF | 35mm | [write the concrete story beat you plan for this panel]"
4. Hidden clue in plain sight (middle-left) — Insert close-up, 85mm. Purpose: Show second hint disguised as normal detail. Suggested strip pattern: "SHOT 4 | ARRI Alexa Mini LF | 85mm | [write the concrete story beat you plan for this panel]"
5. Character conviction (center) — Close-up, 75mm. Purpose: Character acts on wrong belief with full confidence. Suggested strip pattern: "SHOT 5 | ARRI Alexa Mini LF | 75mm | [write the concrete story beat you plan for this panel]"
6. Truth exposed (middle-right) — Hero reveal shot, 35mm. Purpose: Reveal the real information that changes everything. Suggested strip pattern: "SHOT 6 | ARRI Alexa Mini LF | 35mm | [write the concrete story beat you plan for this panel]"
7. Recontextualization (bottom-left) — Montage / flashback frame, 35mm. Purpose: Previous scenes now make sense differently. Suggested strip pattern: "SHOT 7 | ARRI Alexa Mini LF | 35mm | [write the concrete story beat you plan for this panel]"
8. Emotional impact (bottom-center) — Tight close-up, 75mm. Purpose: Show what this means to the character. Suggested strip pattern: "SHOT 8 | ARRI Alexa Mini LF | 75mm | [write the concrete story beat you plan for this panel]"
9. New trajectory (bottom-right) — Final wide, 24mm. Purpose: End on a world that has fundamentally changed. Suggested strip pattern: "SHOT 9 | ARRI Alexa Mini LF | 24mm | [write the concrete story beat you plan for this panel]"

Each information strip must show the planned panel title, shot metadata, and the concrete story beat in plain English. The strip text must include the story's key object and reveal where relevant, so the sequence cannot be mistaken for a different incident. Use clear numbered scene titles, compact metadata, and concise action subtitles in the information strips. Use plain text only: no emojis, no decorative symbols, no fake app UI text, and no real brand logos or copyrighted marks. Make each panel visually distinct through shot scale, camera angle, lens feeling, blocking, foreground/background layering, and subject movement. Exactly 9 panels, no extra panels, no merged panels, no duplicate compositions, no speech bubbles, no lorem ipsum, high-detail professional storyboard sheet.
Copia il prompt e incollalo in ChatGPT insieme alla tua immagine di riferimento per generare uno storyboard. chatgpt.com →
Modelli correlati
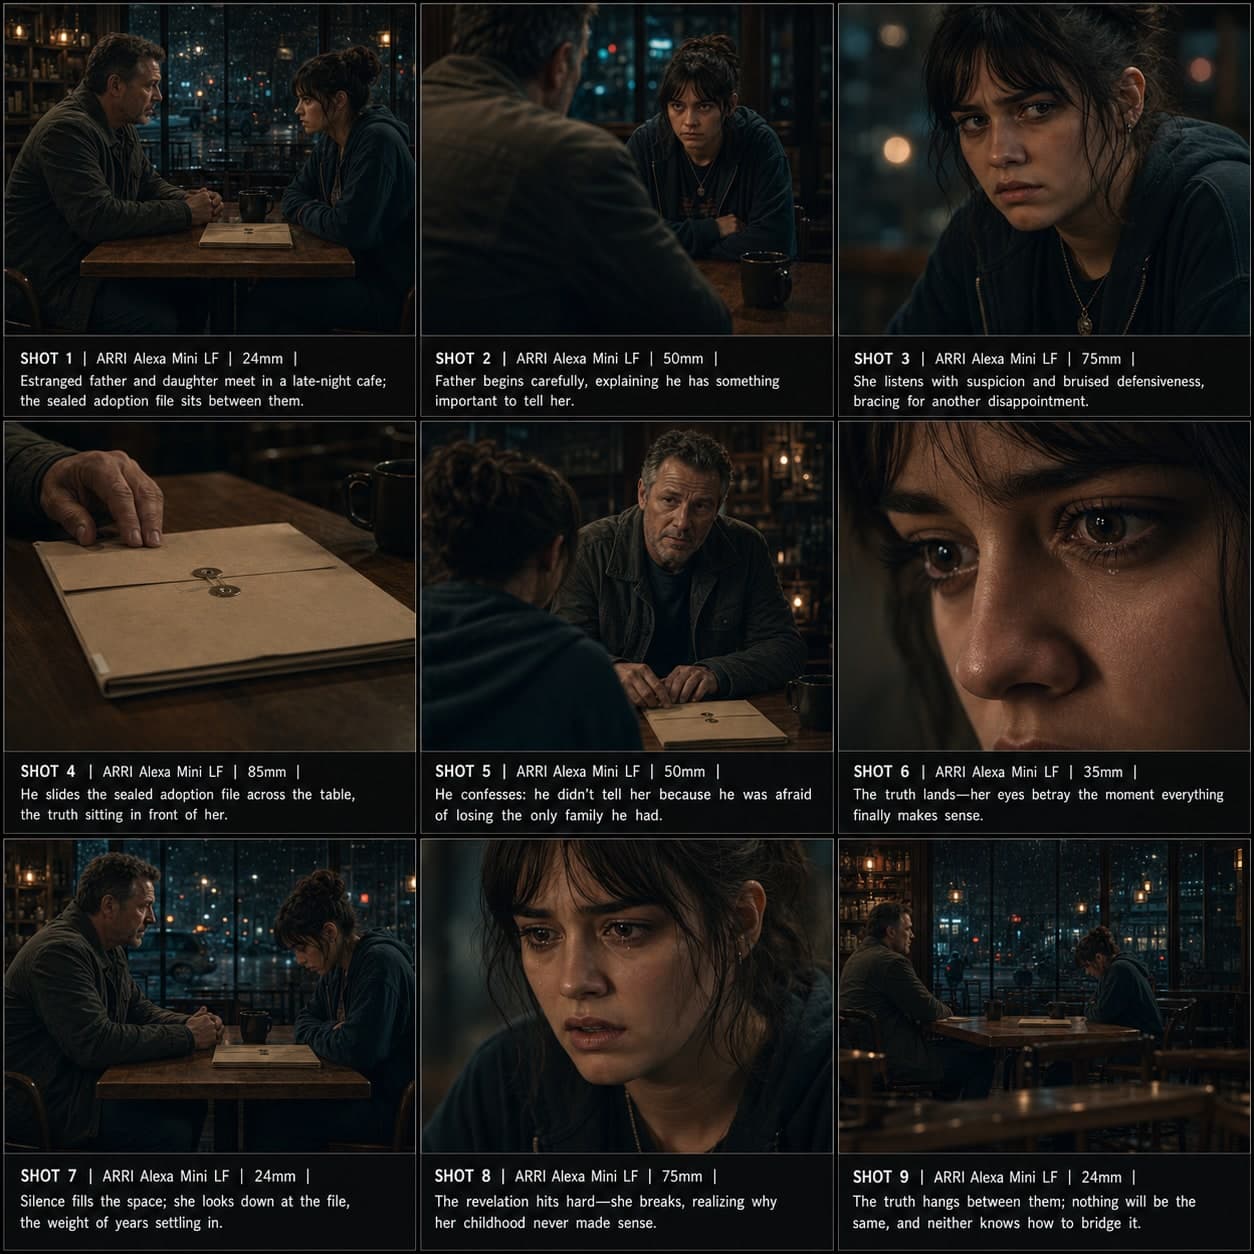 3×3
3×3Modello di storyboard Rivelazione nel dialogo
Una sequenza di 9 pannelli per rivelare una verità difficile attraverso conversazione, reazione e silenzio. Ideale per il dramma basato sul dialogo.
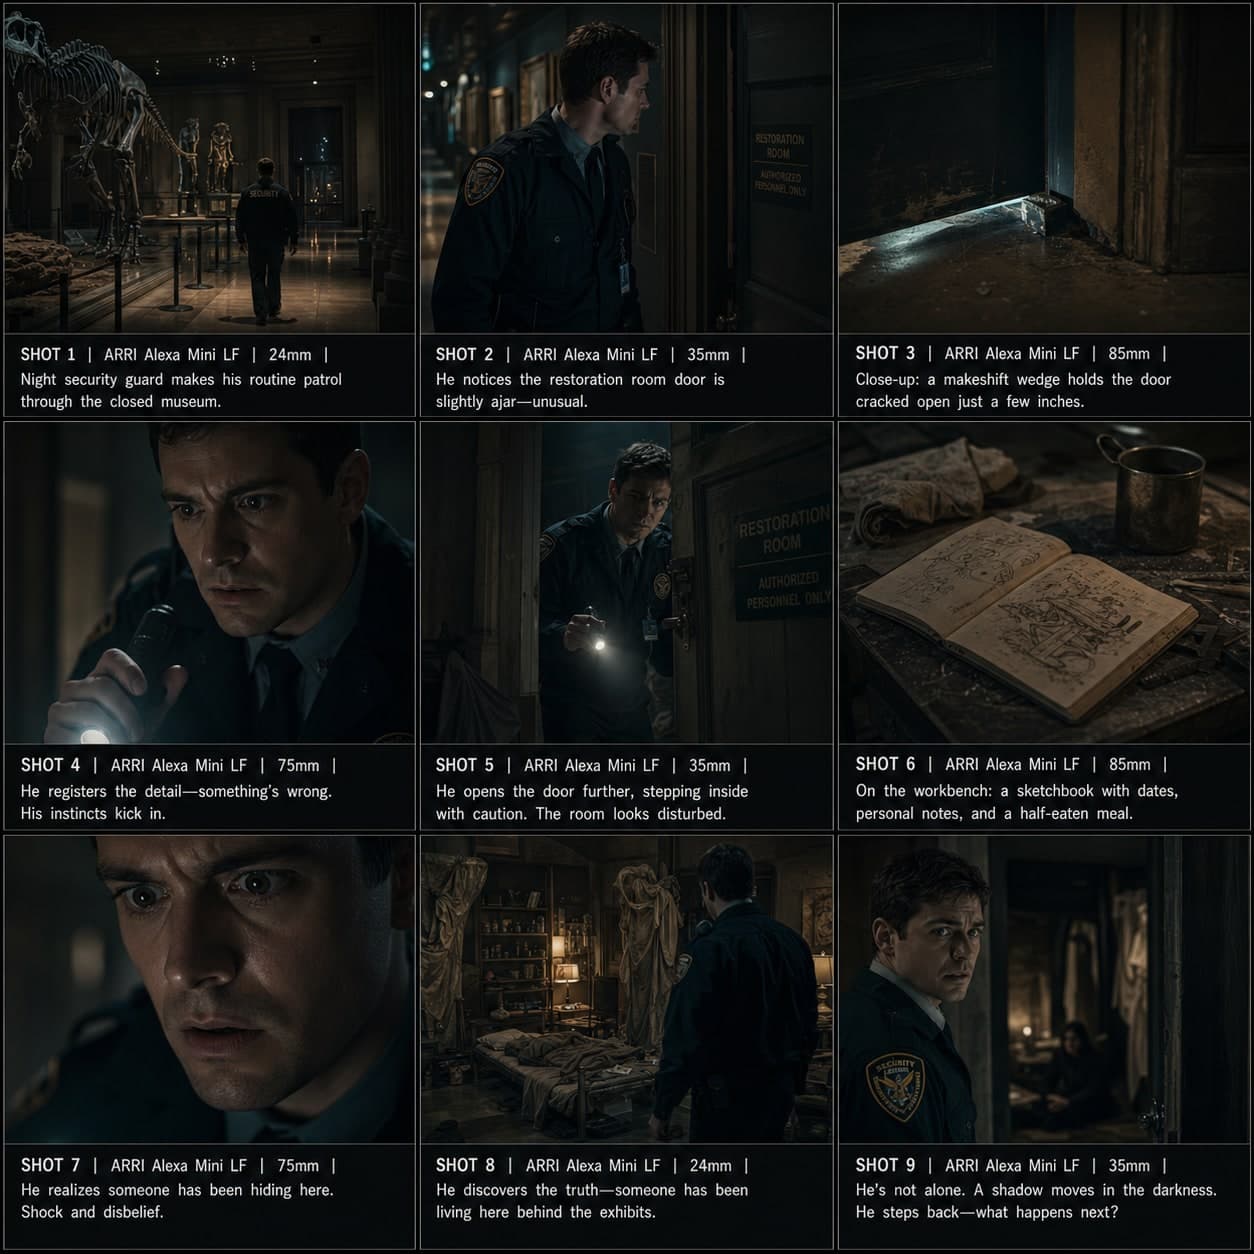 3×3
3×3Modello di storyboard Rivelazione di suspense
Costruire tensione verso una verità nascosta con pressione crescente e un finale ambiguo. Un modello di storyboard di suspense per scene thriller e mistero.
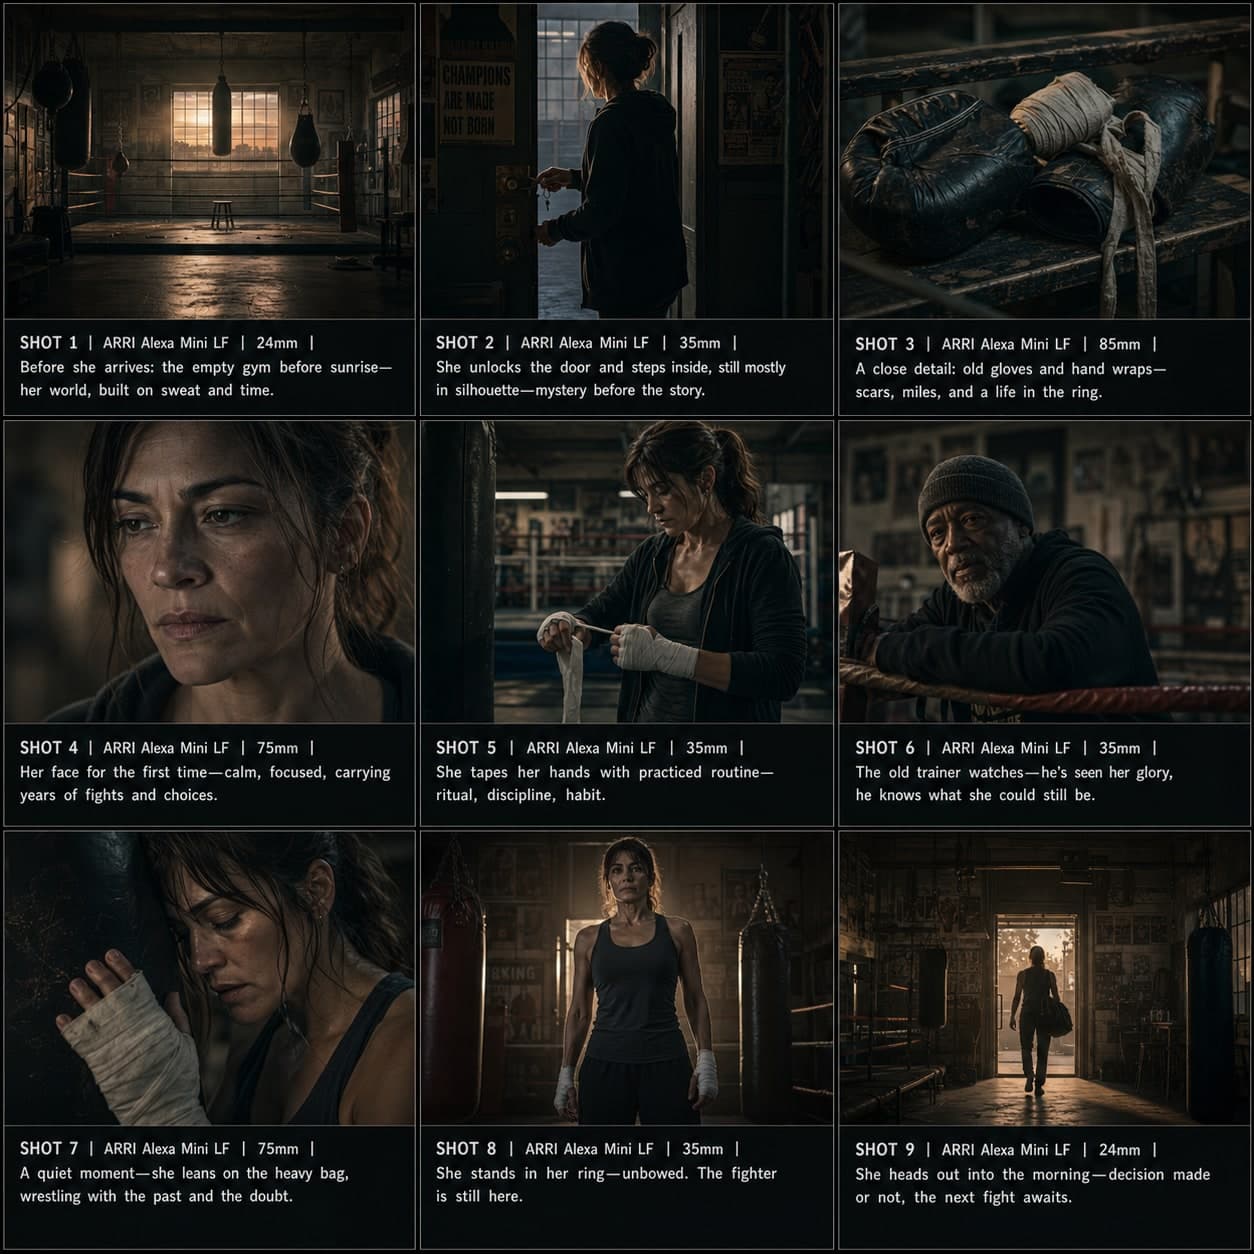 3×3
3×3Modello di storyboard Introduzione del personaggio
Introdurre un personaggio attraverso ambiente, dettaglio, azione e un'iconica inquadratura hero. Un modello di storyboard di introduzione del personaggio per cinema e narrazione.
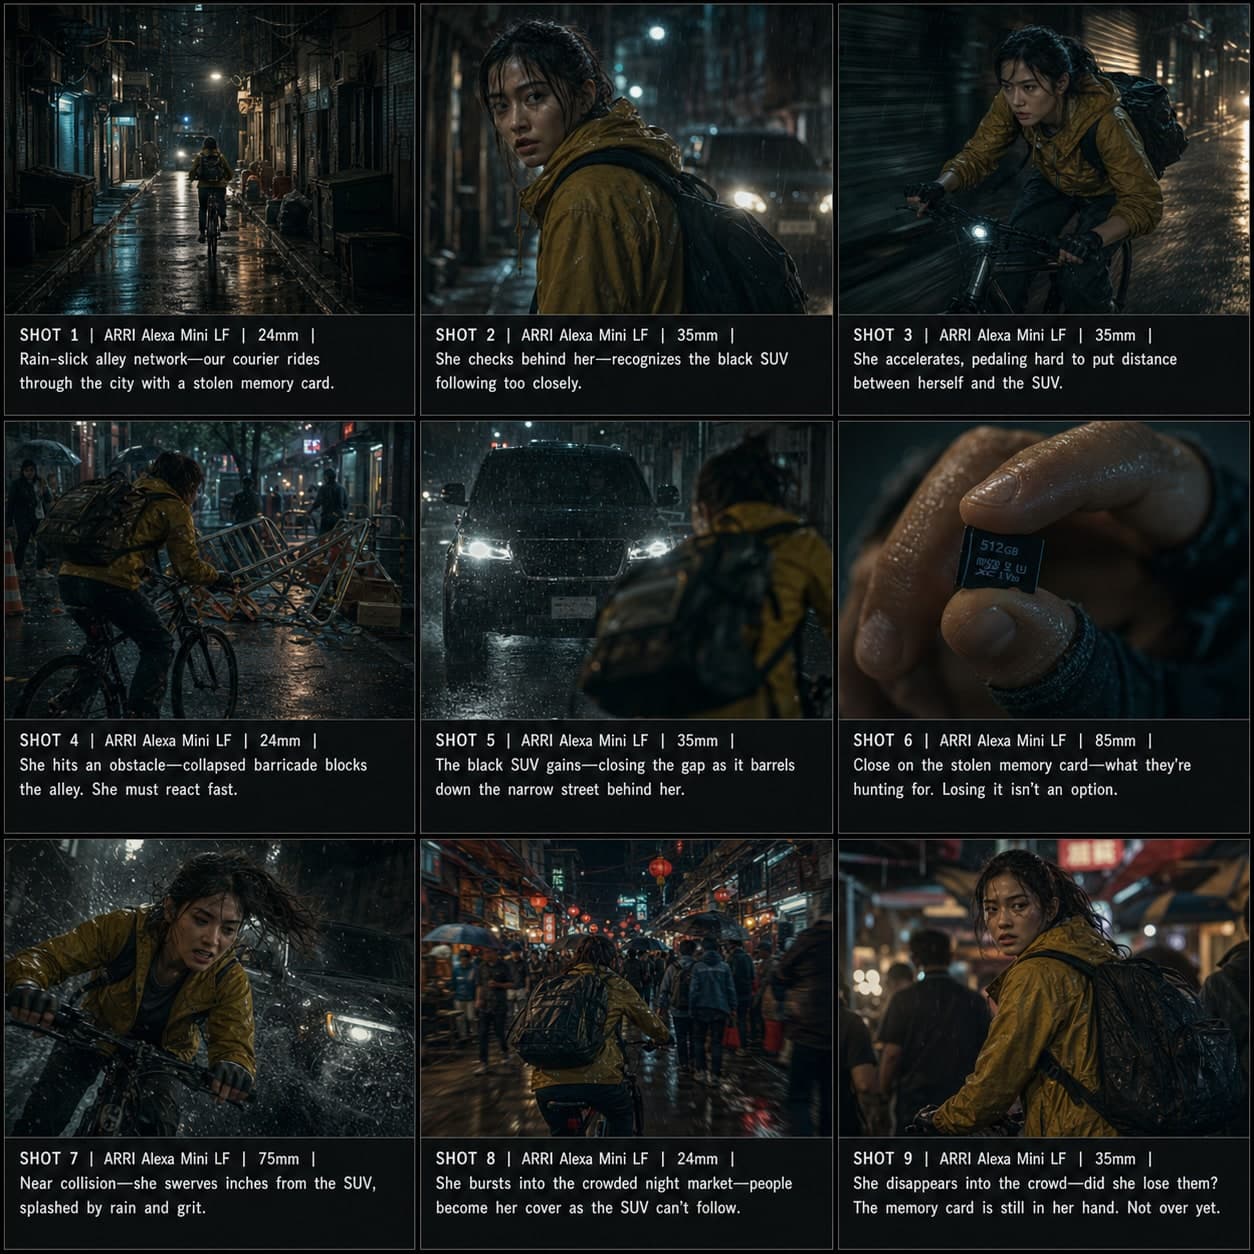 3×3
3×3Modello di storyboard Azione / Inseguimento
Costruire una sequenza di inseguimento fisico dalla configurazione spaziale attraverso ostacoli, inseguimento e fuga. Un modello di storyboard d'azione per scene di inseguimento.