Modèle de storyboard Révélation de retournement
Placer des indices sous une fausse hypothèse, puis tout recontextualiser avec un retournement dramatique. Un modèle de storyboard mystère à 9 panneaux pour les thrillers et le suspense.
À quoi sert ce modèle
Placer des indices sous une fausse hypothèse, puis tout recontextualiser avec un retournement dramatique.
Quand l'utiliser
Idéal pour
- retournements de situation
- révélations mystérieuses
- fins de thriller
Structure de séquence à 9 panneaux
| # | Plan | Objectif | Caméra |
|---|---|---|---|
| 01 | Mise en place de la fausse hypothèse | Établir ce que le public croit vrai | Plan large |
| 02 | Indice subtil | Placer un premier indice que le public peut manquer | Insert |
| 03 | L'escalade confirme la fausse croyance | Renforcer la mauvaise hypothèse | Plan moyen |
| 04 | Indice caché en évidence | Montrer un deuxième indice déguisé en détail normal | Insert gros plan |
| 05 | Conviction du personnage | Le personnage agit en toute confiance sur la mauvaise base | Gros plan |
| 06 | Vérité exposée | Révéler la vraie information qui change tout | Plan héroïque révélation |
| 07 | Recontextualisation | Les scènes précédentes prennent un sens différent | Plan montage / flashback |
| 08 | Impact émotionnel | Montrer ce que cela signifie pour le personnage | Gros plan serré |
| 09 | Nouvelle trajectoire | Terminer sur un monde fondamentalement changé | Plan large final |
Établir ce que le public croit vrai
Placer un premier indice que le public peut manquer
Renforcer la mauvaise hypothèse
Montrer un deuxième indice déguisé en détail normal
Le personnage agit en toute confiance sur la mauvaise base
Révéler la vraie information qui change tout
Les scènes précédentes prennent un sens différent
Montrer ce que cela signifie pour le personnage
Terminer sur un monde fondamentalement changé
Votre histoire
Décrivez votre scène ou histoire en une phrase. Le prompt ci-dessous se met à jour en temps réel. Laissez vide pour utiliser l'exemple.
Aperçu du Prompt
Create a square 3x3 2048x2048 storyboard grid as a cinematic storyboard infographic showing plant clues under a false assumption, then recontextualize everything with a dramatic twist: A detective reconstructs a murder from a set of photographs and believes the victim's partner is innocent. One overlooked reflection reveals the partner staged the entire scene, turning every previous clue against him.

Use dark moody high-end film stills, realistic lighting, subtle teal-and-amber color grade, shallow depth of field, atmospheric dust and shadows. Maintain consistent subject identity, wardrobe, location type, visual medium, lighting, and color palette across all panels. If a reference image is provided, use it as the visual anchor for the subject, world, and style; if no reference image is provided, synthesize one coherent world from the story.

Plan the 9 storyboard panels yourself from the story and the template rhythm, then render the final infographic. Story facts must not change: preserve the named relationship, setting, key object, reveal, cause, and emotional meaning from the story. Do not replace the story's key object with a different document, incident, crime, accident, or backstory.

Arrange the storyboard in a clean 3x3 grid with thin black borders. Each tile must have a large crop-safe cinematic image area and a separate dark information strip below it. The image area must contain no text, labels, captions, UI, watermarks, or typography. Put all written information only in the strip below each image.

Sequence rhythm: False setup → subtle clue → escalation → hidden clue → conviction → truth exposed → recontextualization → emotional impact → new trajectory

Use this template structure as the shot grammar, but adapt every panel to the concrete story:
1. False assumption setup (top-left) — Wide, 24mm. Purpose: Establish what the audience believes is true. Suggested strip pattern: "SHOT 1 | ARRI Alexa Mini LF | 24mm | [write the concrete story beat you plan for this panel]"
2. Subtle clue (top-center) — Insert, 85mm. Purpose: Plant first hint the audience can miss. Suggested strip pattern: "SHOT 2 | ARRI Alexa Mini LF | 85mm | [write the concrete story beat you plan for this panel]"
3. Escalation confirms false belief (top-right) — Medium, 35mm. Purpose: Reinforce the wrong assumption. Suggested strip pattern: "SHOT 3 | ARRI Alexa Mini LF | 35mm | [write the concrete story beat you plan for this panel]"
4. Hidden clue in plain sight (middle-left) — Insert close-up, 85mm. Purpose: Show second hint disguised as normal detail. Suggested strip pattern: "SHOT 4 | ARRI Alexa Mini LF | 85mm | [write the concrete story beat you plan for this panel]"
5. Character conviction (center) — Close-up, 75mm. Purpose: Character acts on wrong belief with full confidence. Suggested strip pattern: "SHOT 5 | ARRI Alexa Mini LF | 75mm | [write the concrete story beat you plan for this panel]"
6. Truth exposed (middle-right) — Hero reveal shot, 35mm. Purpose: Reveal the real information that changes everything. Suggested strip pattern: "SHOT 6 | ARRI Alexa Mini LF | 35mm | [write the concrete story beat you plan for this panel]"
7. Recontextualization (bottom-left) — Montage / flashback frame, 35mm. Purpose: Previous scenes now make sense differently. Suggested strip pattern: "SHOT 7 | ARRI Alexa Mini LF | 35mm | [write the concrete story beat you plan for this panel]"
8. Emotional impact (bottom-center) — Tight close-up, 75mm. Purpose: Show what this means to the character. Suggested strip pattern: "SHOT 8 | ARRI Alexa Mini LF | 75mm | [write the concrete story beat you plan for this panel]"
9. New trajectory (bottom-right) — Final wide, 24mm. Purpose: End on a world that has fundamentally changed. Suggested strip pattern: "SHOT 9 | ARRI Alexa Mini LF | 24mm | [write the concrete story beat you plan for this panel]"

Each information strip must show the planned panel title, shot metadata, and the concrete story beat in plain English. The strip text must include the story's key object and reveal where relevant, so the sequence cannot be mistaken for a different incident. Use clear numbered scene titles, compact metadata, and concise action subtitles in the information strips. Use plain text only: no emojis, no decorative symbols, no fake app UI text, and no real brand logos or copyrighted marks. Make each panel visually distinct through shot scale, camera angle, lens feeling, blocking, foreground/background layering, and subject movement. Exactly 9 panels, no extra panels, no merged panels, no duplicate compositions, no speech bubbles, no lorem ipsum, high-detail professional storyboard sheet.
Copiez le prompt et collez-le dans ChatGPT avec votre image de référence pour générer un storyboard. chatgpt.com →
Modèles similaires
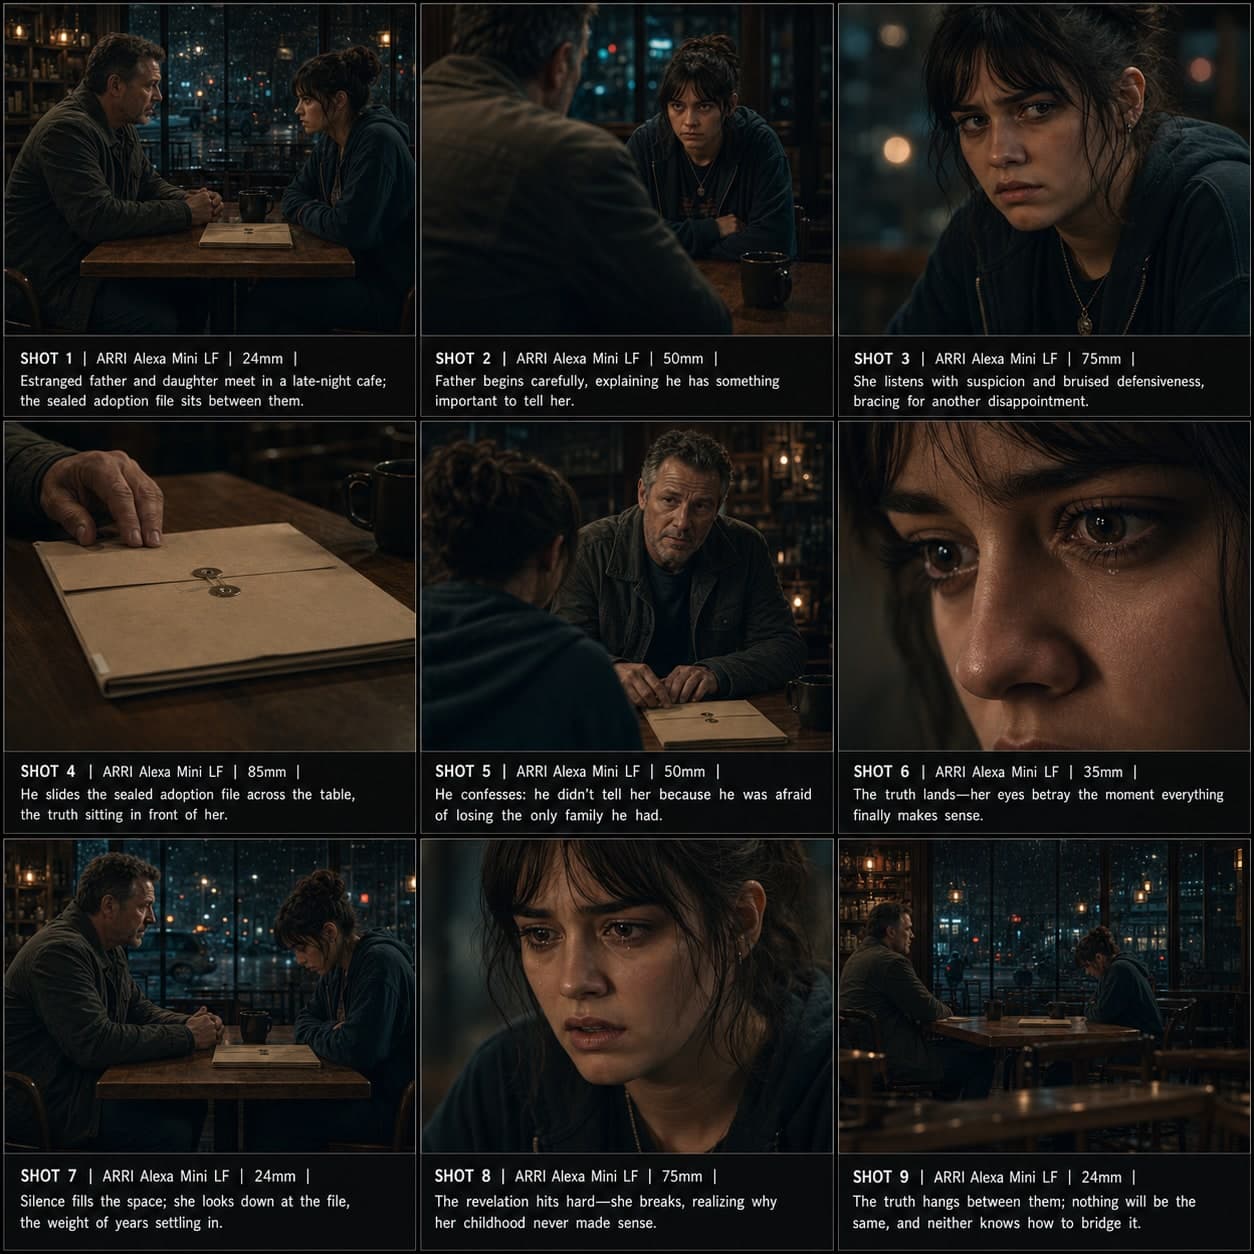 3×3
3×3Modèle de storyboard Révélation par le dialogue
Une séquence de 9 panneaux pour révéler une vérité difficile à travers la conversation, la réaction et le silence. Idéal pour le drame basé sur le dialogue.
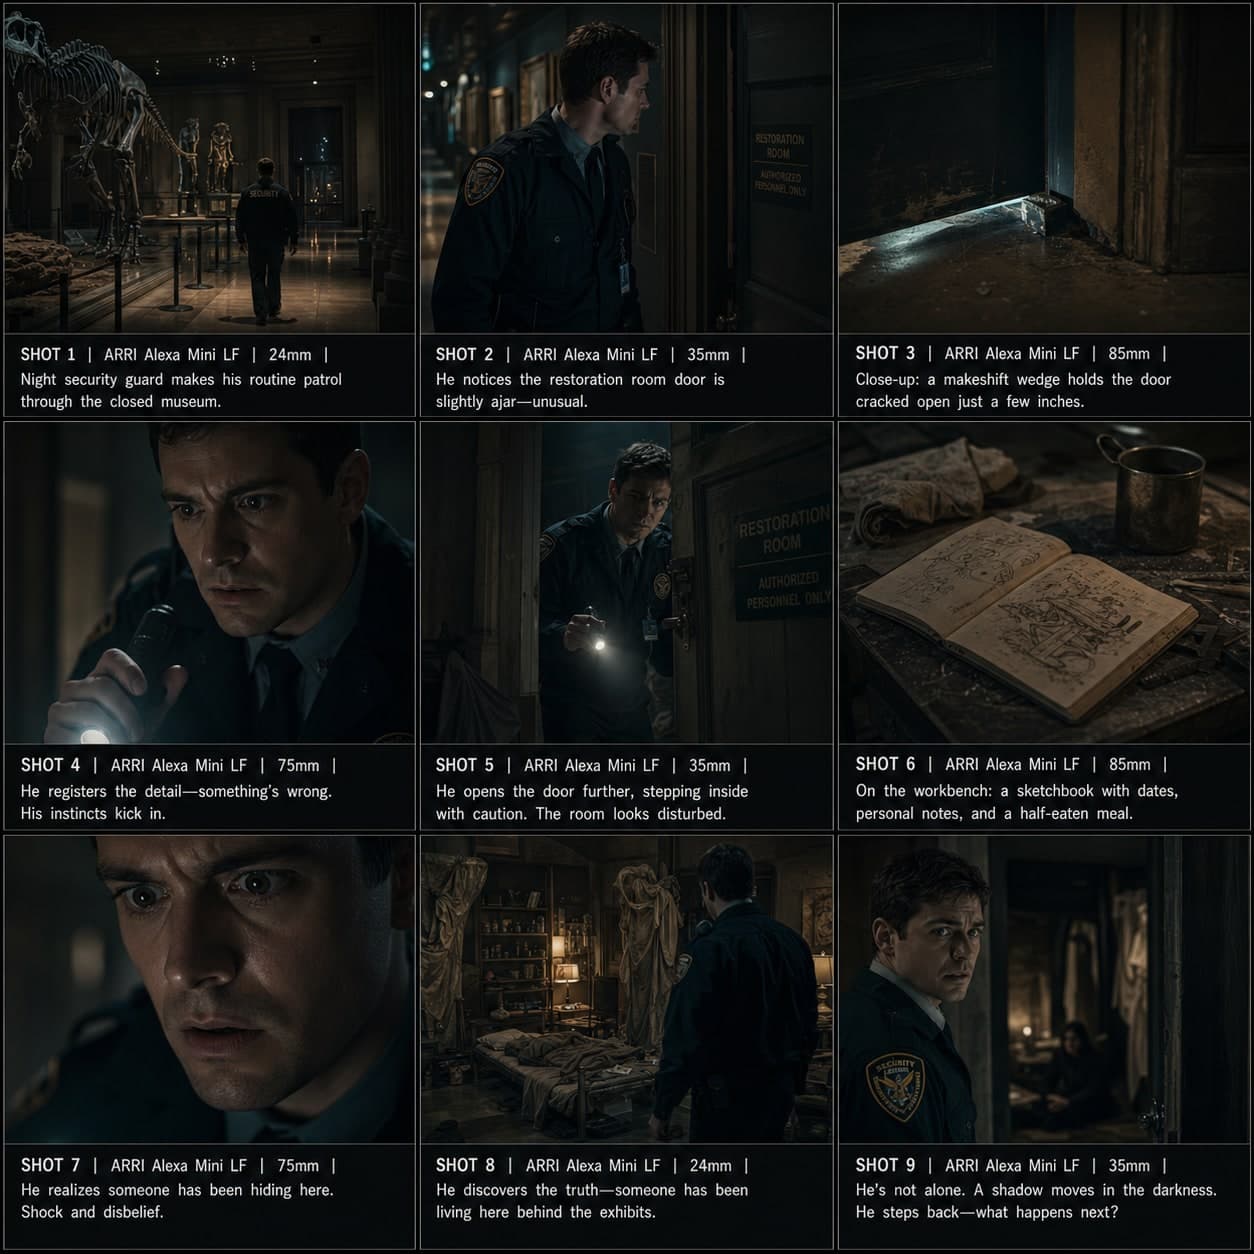 3×3
3×3Modèle de storyboard Révélation de suspense
Construire la tension vers une vérité cachée avec une pression croissante et une fin ambiguë. Un modèle de storyboard de suspense pour les scènes de thriller et de mystère.
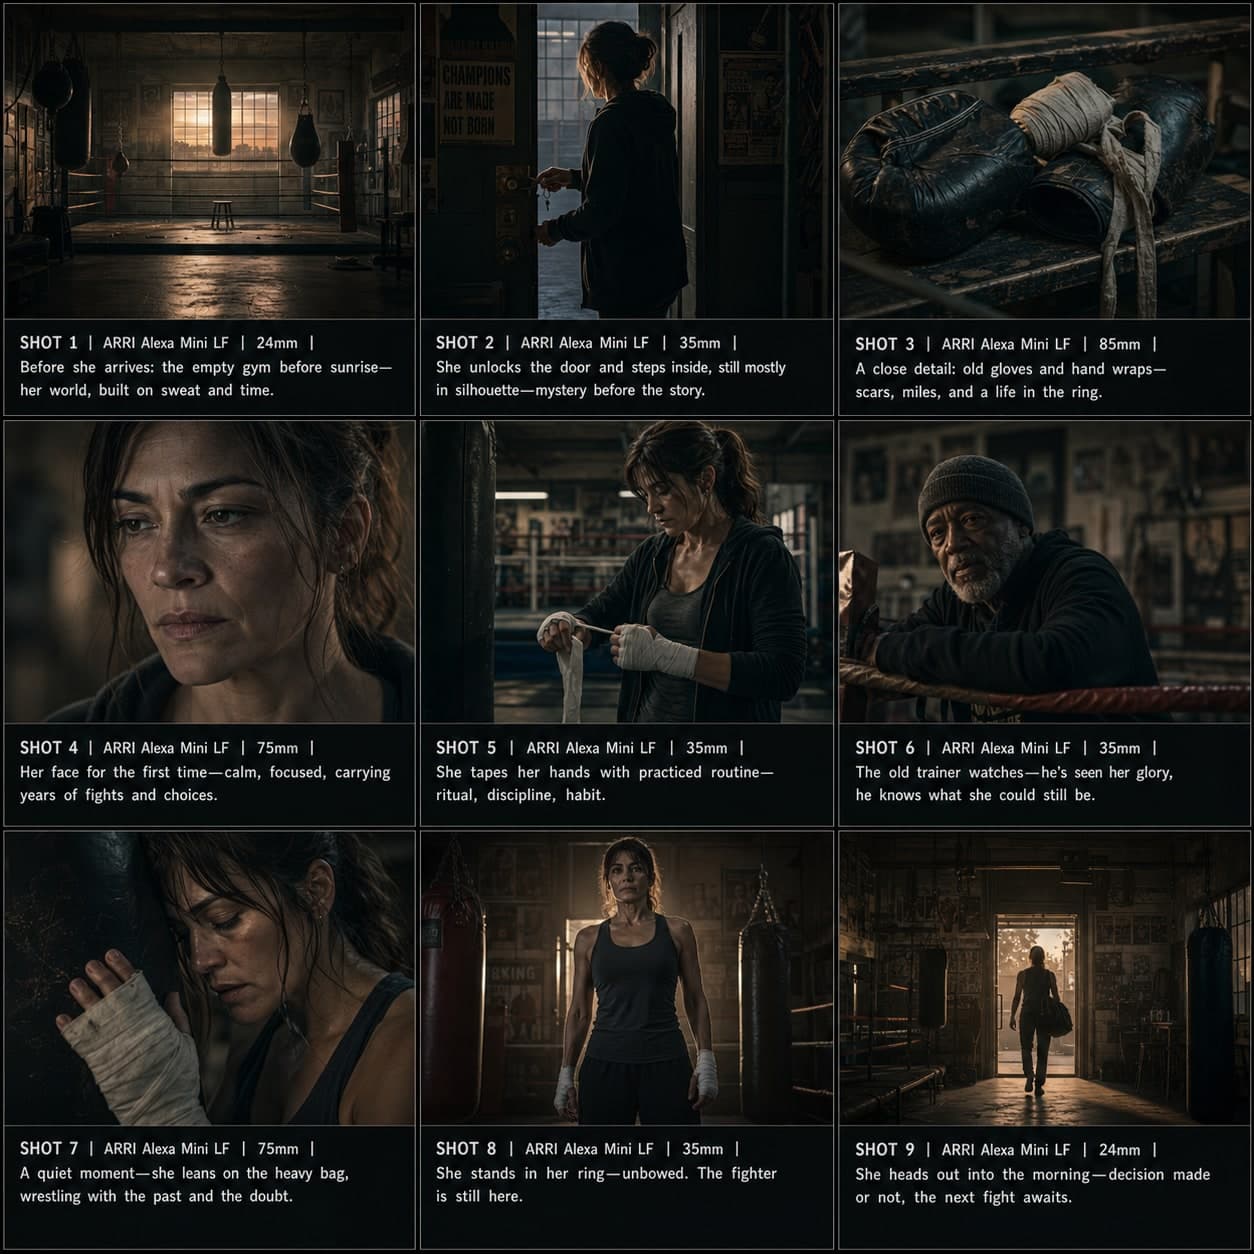 3×3
3×3Modèle de storyboard Introduction de personnage
Introduire un personnage par l'environnement, le détail, l'action et un plan héros iconique. Un modèle de storyboard d'introduction de personnage pour le cinéma et la narration.
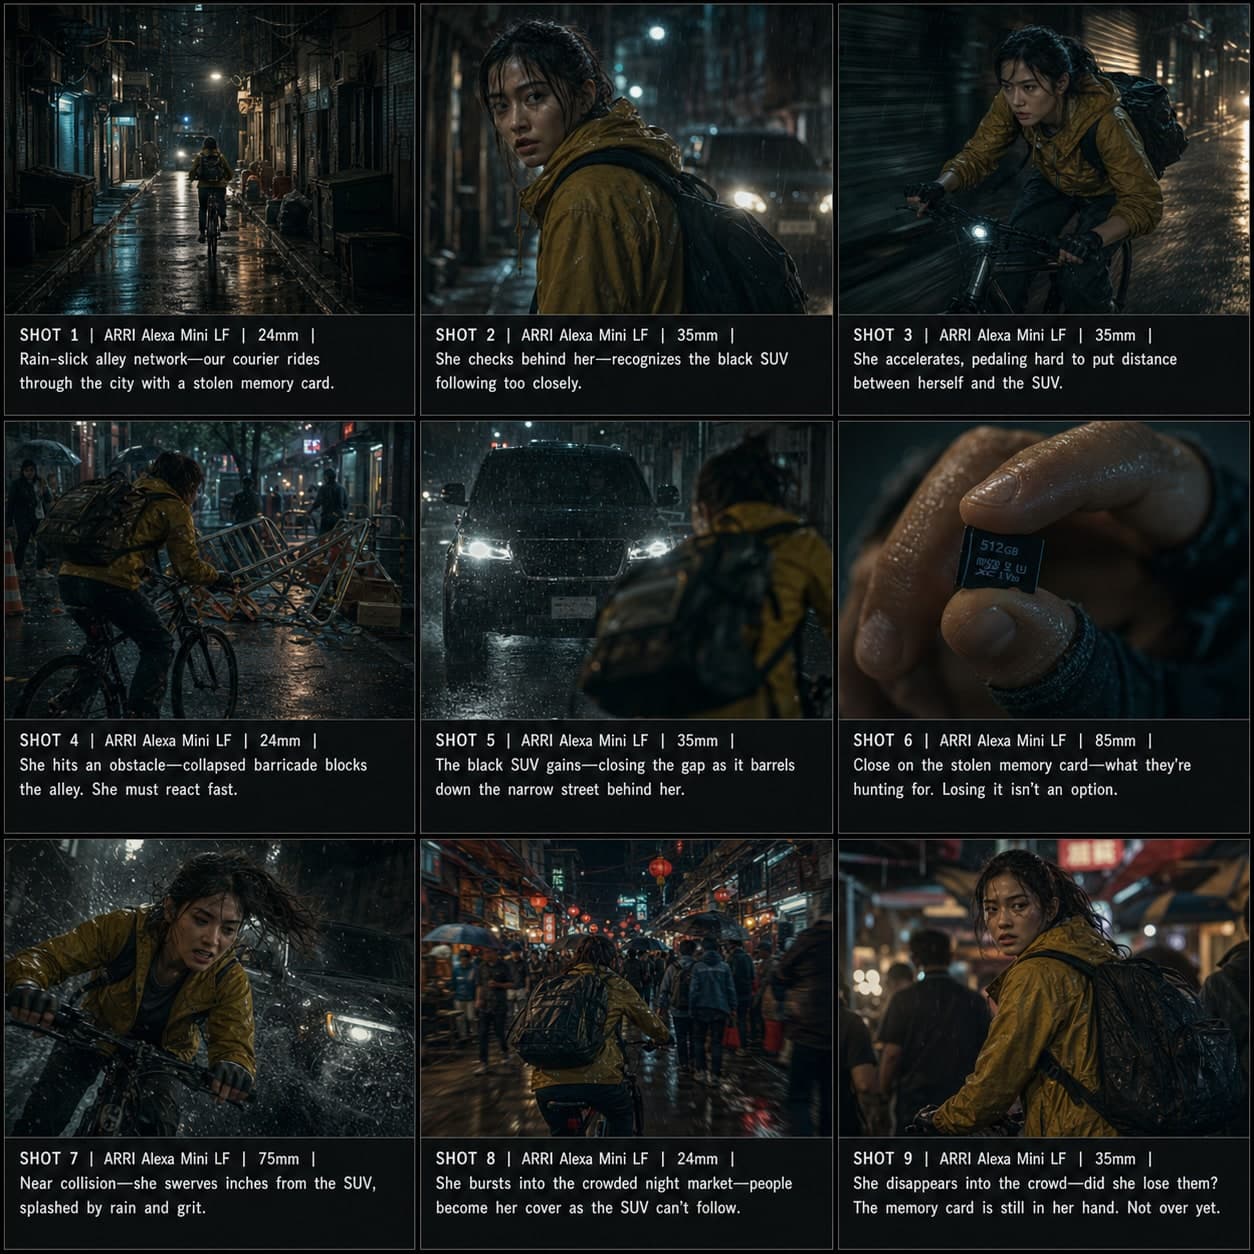 3×3
3×3Modèle de storyboard Action / Poursuite
Construire une séquence de poursuite physique depuis la mise en place spatiale jusqu'à l'obstacle, la poursuite et l'évasion. Un modèle de storyboard d'action pour les scènes de poursuite.