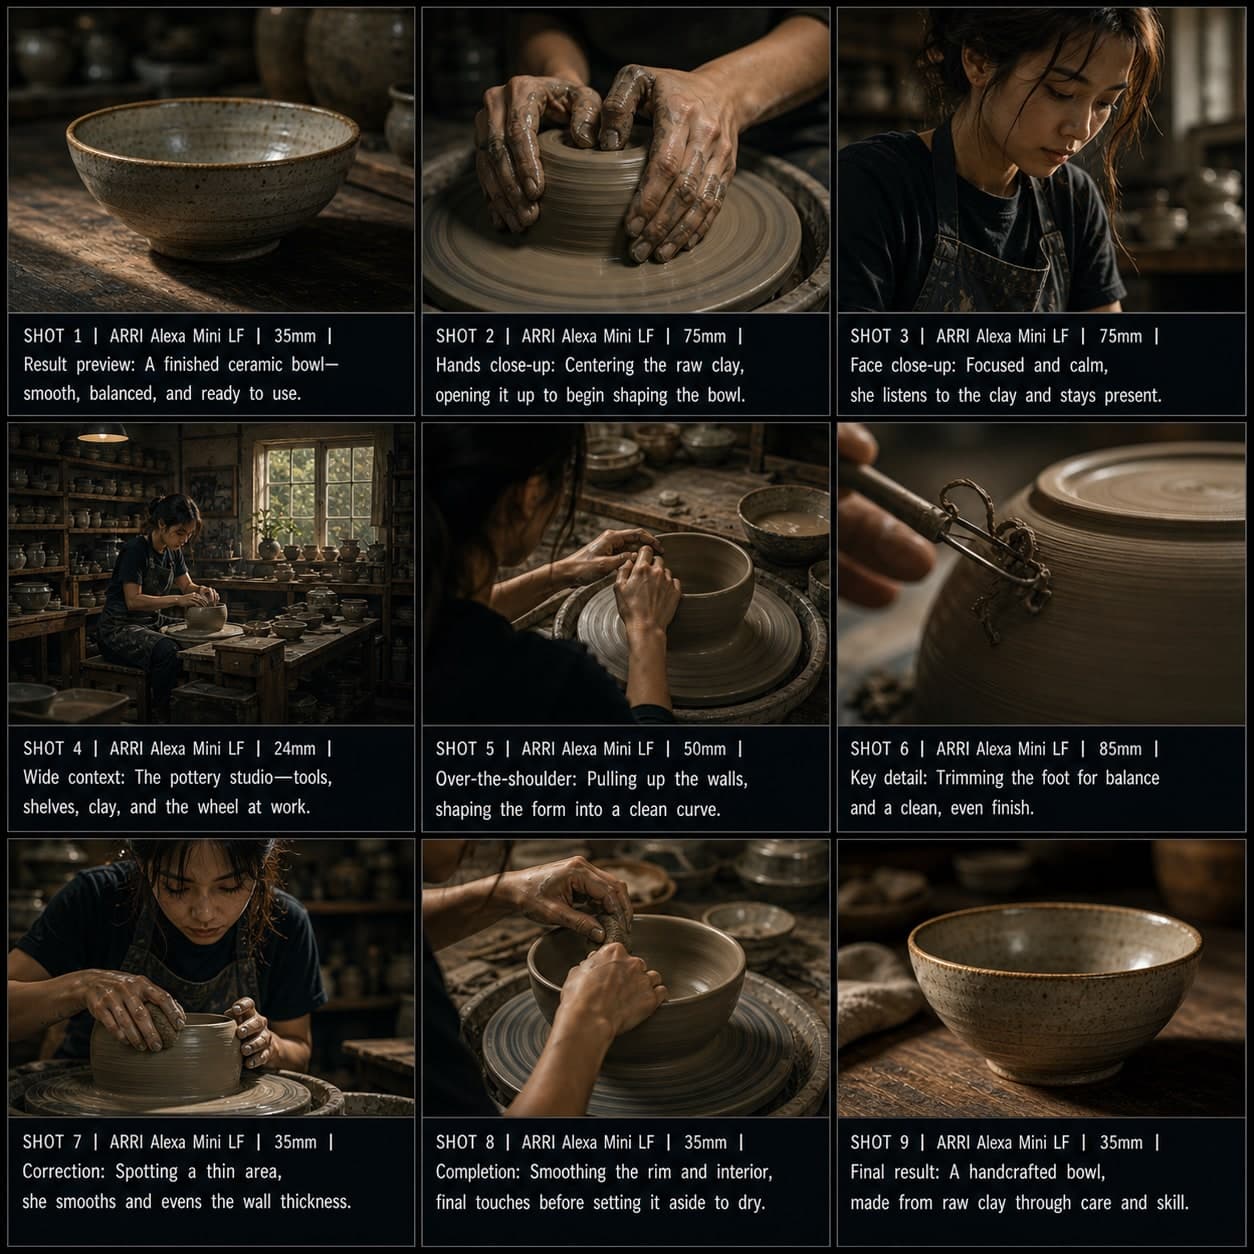
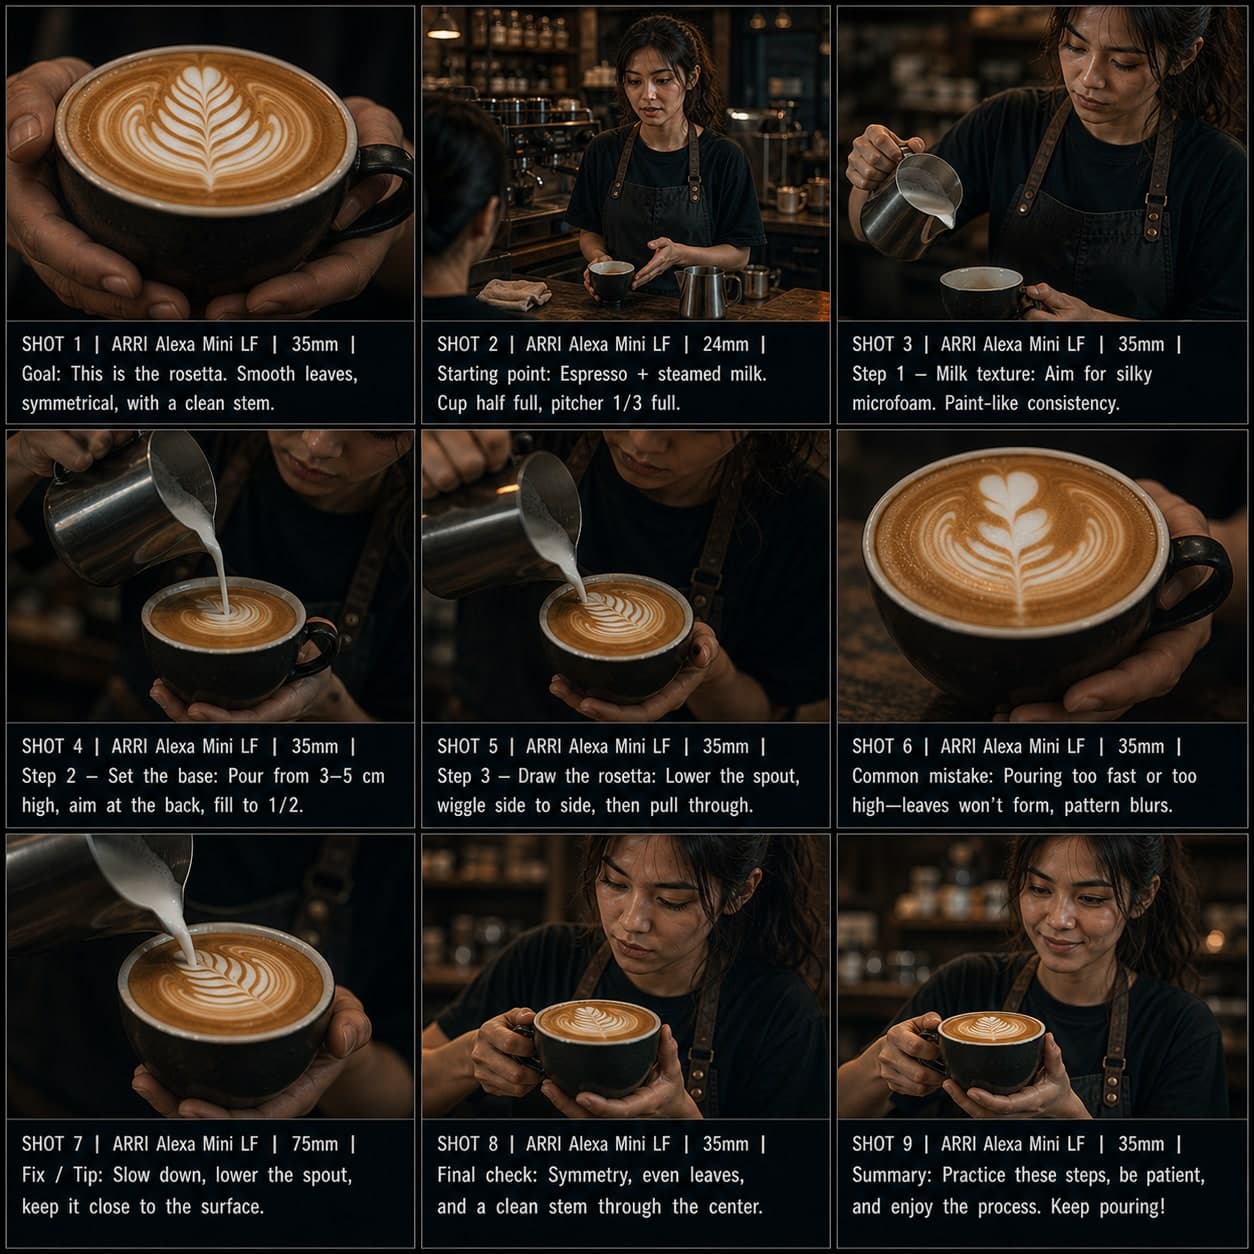
앱 / SaaS 데모 스토리보드 템플릿
문제에서 입력, 출력, CTA까지 소프트웨어 또는 AI 도구 워크플로를 시연합니다. SaaS 워크스루 영상을 위한 앱 데모 스토리보드 템플릿.
이 템플릿의 용도
소프트웨어 또는 AI 도구 워크플로를 시연합니다.
사용 시기
적합한 용도
- 앱 데모
- SaaS 워크스루
- AI 도구 쇼케이스
9컷 시퀀스 구조
| # | 샷 | 목적 | 카메라 |
|---|---|---|---|
| 01 | 사용자 문제 | 문제를 보여준다 | 공감 장면 |
| 02 | 앱 또는 인터페이스 열기 | 프로덕트 환경을 도입한다 | 인터페이스 샷 |
| 03 | 입력 액션 | 사용자가 무언가를 입력한다 | 인터랙션 샷 |
| 04 | 처리 또는 매직 모먼트 | 시스템이 작동하는 모습을 보여준다 | 프로세스 프레임 |
| 05 | 출력 결과 | 결과를 보여준다 | 아웃풋 프레임 |
| 06 | 편집 또는 다듬기 | 제어력을 보여준다 | 리파인먼트 프레임 |
| 07 | 사용 사례 | 맥락 속 결과를 보여준다 | 컨텍스트 샷 |
| 08 | 베네핏 | 가치를 보여준다 | 베네핏 프레임 |
| 09 | CTA | 트라이얼이나 가입을 유도한다 | CTA 프레임 |
01사용자 문제
문제를 보여준다
공감 장면
02앱 또는 인터페이스 열기
프로덕트 환경을 도입한다
인터페이스 샷
03입력 액션
사용자가 무언가를 입력한다
인터랙션 샷
04처리 또는 매직 모먼트
시스템이 작동하는 모습을 보여준다
프로세스 프레임
05출력 결과
결과를 보여준다
아웃풋 프레임
06편집 또는 다듬기
제어력을 보여준다
리파인먼트 프레임
07사용 사례
맥락 속 결과를 보여준다
컨텍스트 샷
08베네핏
가치를 보여준다
베네핏 프레임
09CTA
트라이얼이나 가입을 유도한다
CTA 프레임
나의 스토리
장면이나 스토리를 한 문장으로 설명하세요. 아래 Prompt가 실시간으로 업데이트됩니다. 비워두면 예시 스토리가 사용됩니다.
Prompt 미리보기
Create a square 3x3 2048x2048 storyboard grid as a cinematic storyboard infographic showing demonstrate a software or ai tool workflow: A designer uses an AI moodboard tool to turn a vague brand brief into a presentation-ready direction. The sequence shows user problem, interface, input, processing, output, refinement, real use case, benefit, and CTA.

Use dark moody high-end film stills, realistic lighting, subtle teal-and-amber color grade, shallow depth of field, atmospheric dust and shadows. Maintain consistent subject identity, wardrobe, location type, visual medium, lighting, and color palette across all panels. If a reference image is provided, use it as the visual anchor for the subject, world, and style; if no reference image is provided, synthesize one coherent world from the story.

Plan the 9 storyboard panels yourself from the story and the template rhythm, then render the final infographic. Story facts must not change: preserve the named relationship, setting, key object, reveal, cause, and emotional meaning from the story. Do not replace the story's key object with a different document, incident, crime, accident, or backstory.

Arrange the storyboard in a clean 3x3 grid with thin black borders. Each tile must have a large crop-safe cinematic image area and a separate dark information strip below it. The image area must contain no text, labels, captions, UI, watermarks, or typography. Put all written information only in the strip below each image.

Sequence rhythm: User problem → open app → input → processing → output → refine → use case → benefit → CTA

Use this template structure as the shot grammar, but adapt every panel to the concrete story:
1. User problem (top-left) — Relatable scene, 35mm. Purpose: Show the problem. Suggested strip pattern: "SHOT 1 | ARRI Alexa Mini LF | 35mm | [write the concrete story beat you plan for this panel]"
2. Open app or interface (top-center) — Interface shot, 35mm. Purpose: Introduce product environment. Suggested strip pattern: "SHOT 2 | ARRI Alexa Mini LF | 35mm | [write the concrete story beat you plan for this panel]"
3. Input action (top-right) — Interaction shot, 35mm. Purpose: User enters something. Suggested strip pattern: "SHOT 3 | ARRI Alexa Mini LF | 35mm | [write the concrete story beat you plan for this panel]"
4. Processing or magic moment (middle-left) — Process frame, 35mm. Purpose: Show system working. Suggested strip pattern: "SHOT 4 | ARRI Alexa Mini LF | 35mm | [write the concrete story beat you plan for this panel]"
5. Output result (center) — Output frame, 35mm. Purpose: Show result. Suggested strip pattern: "SHOT 5 | ARRI Alexa Mini LF | 35mm | [write the concrete story beat you plan for this panel]"
6. Edit or refine (middle-right) — Refinement frame, 35mm. Purpose: Show control. Suggested strip pattern: "SHOT 6 | ARRI Alexa Mini LF | 35mm | [write the concrete story beat you plan for this panel]"
7. Use case (bottom-left) — Context shot, 35mm. Purpose: Show result in context. Suggested strip pattern: "SHOT 7 | ARRI Alexa Mini LF | 35mm | [write the concrete story beat you plan for this panel]"
8. Benefit (bottom-center) — Benefit frame, 35mm. Purpose: Show value. Suggested strip pattern: "SHOT 8 | ARRI Alexa Mini LF | 35mm | [write the concrete story beat you plan for this panel]"
9. CTA (bottom-right) — CTA frame, 35mm. Purpose: Invite trial or signup. Suggested strip pattern: "SHOT 9 | ARRI Alexa Mini LF | 35mm | [write the concrete story beat you plan for this panel]"

Each information strip must show the planned panel title, shot metadata, and the concrete story beat in plain English. The strip text must include the story's key object and reveal where relevant, so the sequence cannot be mistaken for a different incident. Use clear numbered scene titles, compact metadata, and concise action subtitles in the information strips. Use plain text only: no emojis, no decorative symbols, no fake app UI text, and no real brand logos or copyrighted marks. Make each panel visually distinct through shot scale, camera angle, lens feeling, blocking, foreground/background layering, and subject movement. Exactly 9 panels, no extra panels, no merged panels, no duplicate compositions, no speech bubbles, no lorem ipsum, high-detail professional storyboard sheet.
Prompt를 복사한 후, 참조 이미지와 함께 ChatGPT에 붙여넣으면 스토리보드 시트가 생성됩니다. chatgpt.com →