Modèle de storyboard Scénario POV
Structurer une situation en première personne, de l'accroche POV au retournement jusqu'à la chute. Un modèle de storyboard scénario POV pour le contenu vidéo social immersif.
À quoi sert ce modèle
Structurer une situation en première personne ou un jeu de rôle.
Quand l'utiliser
Idéal pour
- contenu POV
- scénarios de jeu de rôle
- comédie situationnelle
Structure de séquence à 9 panneaux
| # | Plan | Objectif | Caméra |
|---|---|---|---|
| 01 | Accroche subjective | Placer le spectateur dans la situation | Plan subjectif |
| 02 | Mise en place de la situation | Expliquer le contexte visuellement | Plan large / contexte |
| 03 | Événement inattendu | Introduire le retournement | Plan surprise |
| 04 | Réaction | Montrer la réponse immédiate | Gros plan |
| 05 | Escalade | Augmenter les enjeux | Plan moyen dynamique |
| 06 | Choix ou retournement | Ajouter un point de décision | Insert / gros plan |
| 07 | Résultat | Montrer ce qui arrive | Plan résultat |
| 08 | Beat émotionnel | Ancrer le sentiment | Plan réaction |
| 09 | Chute finale | Terminer par une blague, un twist ou un beat persistant | Plan final |
Placer le spectateur dans la situation
Expliquer le contexte visuellement
Introduire le retournement
Montrer la réponse immédiate
Augmenter les enjeux
Ajouter un point de décision
Montrer ce qui arrive
Ancrer le sentiment
Terminer par une blague, un twist ou un beat persistant
Votre histoire
Décrivez votre scène ou histoire en une phrase. Le prompt ci-dessous se met à jour en temps réel. Laissez vide pour utiliser l'exemple.
Aperçu du Prompt
Create a square 3x3 2048x2048 storyboard grid as a cinematic storyboard infographic showing structure a first-person situation or roleplay: POV: you arrive at a tiny rental cabin and realize the host left a mysterious handwritten rulebook. The sequence uses first-person framing, discovery, reaction, escalation, a choice, and a final twist from your point of view.

Use dark moody high-end film stills, realistic lighting, subtle teal-and-amber color grade, shallow depth of field, atmospheric dust and shadows. Maintain consistent subject identity, wardrobe, location type, visual medium, lighting, and color palette across all panels. If a reference image is provided, use it as the visual anchor for the subject, world, and style; if no reference image is provided, synthesize one coherent world from the story.

Plan the 9 storyboard panels yourself from the story and the template rhythm, then render the final infographic. Story facts must not change: preserve the named relationship, setting, key object, reveal, cause, and emotional meaning from the story. Do not replace the story's key object with a different document, incident, crime, accident, or backstory.

Arrange the storyboard in a clean 3x3 grid with thin black borders. Each tile must have a large crop-safe cinematic image area and a separate dark information strip below it. The image area must contain no text, labels, captions, UI, watermarks, or typography. Put all written information only in the strip below each image.

Sequence rhythm: POV hook → context → unexpected event → reaction → escalation → twist → result → punchline

Use this template structure as the shot grammar, but adapt every panel to the concrete story:
1. POV hook (top-left) — POV frame, 35mm. Purpose: Put viewer inside situation. Suggested strip pattern: "SHOT 1 | ARRI Alexa Mini LF | 35mm | [write the concrete story beat you plan for this panel]"
2. Situation setup (top-center) — Wide / context, 24mm. Purpose: Explain context visually. Suggested strip pattern: "SHOT 2 | ARRI Alexa Mini LF | 24mm | [write the concrete story beat you plan for this panel]"
3. Unexpected event (top-right) — Surprise frame, 35mm. Purpose: Introduce twist. Suggested strip pattern: "SHOT 3 | ARRI Alexa Mini LF | 35mm | [write the concrete story beat you plan for this panel]"
4. Reaction (middle-left) — Close-up, 75mm. Purpose: Show immediate response. Suggested strip pattern: "SHOT 4 | ARRI Alexa Mini LF | 75mm | [write the concrete story beat you plan for this panel]"
5. Escalation (center) — Dynamic medium, 35mm. Purpose: Increase stakes. Suggested strip pattern: "SHOT 5 | ARRI Alexa Mini LF | 35mm | [write the concrete story beat you plan for this panel]"
6. Choice or twist (middle-right) — Insert / close-up, 85mm. Purpose: Add decision point. Suggested strip pattern: "SHOT 6 | ARRI Alexa Mini LF | 85mm | [write the concrete story beat you plan for this panel]"
7. Result (bottom-left) — Result frame, 35mm. Purpose: Show what happens. Suggested strip pattern: "SHOT 7 | ARRI Alexa Mini LF | 35mm | [write the concrete story beat you plan for this panel]"
8. Emotional beat (bottom-center) — Reaction shot, 35mm. Purpose: Land feeling. Suggested strip pattern: "SHOT 8 | ARRI Alexa Mini LF | 35mm | [write the concrete story beat you plan for this panel]"
9. End punch (bottom-right) — Final frame, 35mm. Purpose: Finish with joke, twist, or lingering beat. Suggested strip pattern: "SHOT 9 | ARRI Alexa Mini LF | 35mm | [write the concrete story beat you plan for this panel]"

Each information strip must show the planned panel title, shot metadata, and the concrete story beat in plain English. The strip text must include the story's key object and reveal where relevant, so the sequence cannot be mistaken for a different incident. Use clear numbered scene titles, compact metadata, and concise action subtitles in the information strips. Use plain text only: no emojis, no decorative symbols, no fake app UI text, and no real brand logos or copyrighted marks. Make each panel visually distinct through shot scale, camera angle, lens feeling, blocking, foreground/background layering, and subject movement. Exactly 9 panels, no extra panels, no merged panels, no duplicate compositions, no speech bubbles, no lorem ipsum, high-detail professional storyboard sheet.
Copiez le prompt et collez-le dans ChatGPT avec votre image de référence pour générer un storyboard. chatgpt.com →
Modèles similaires
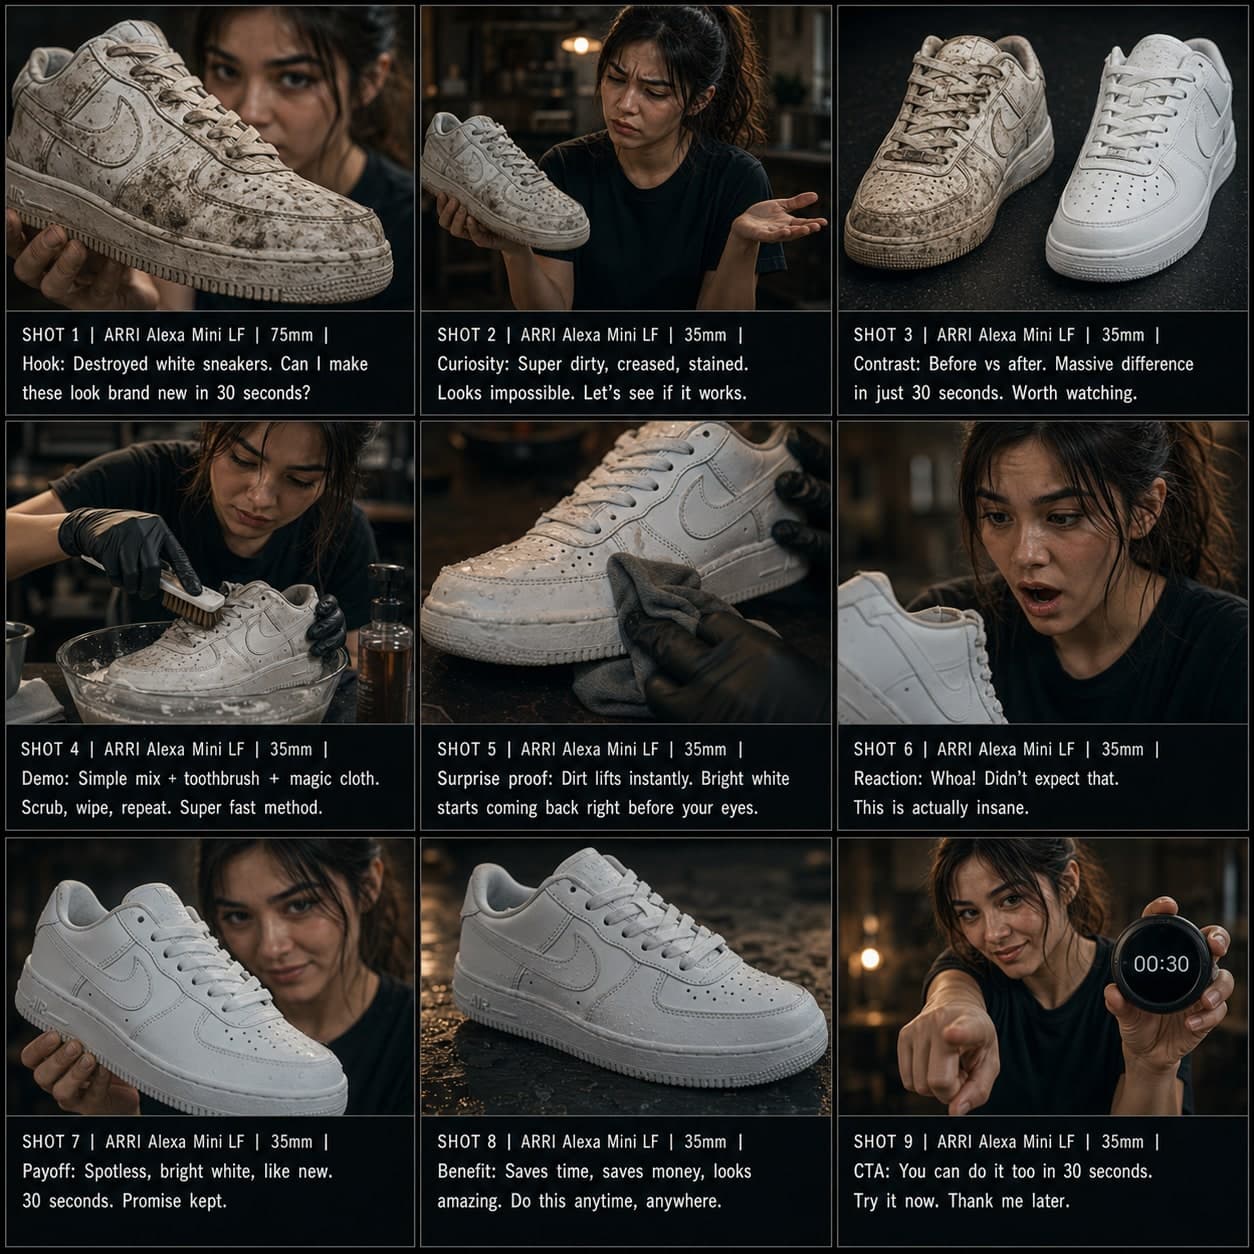 3×3
3×3Modèle de storyboard Accroche TikTok / Publicité sociale
Créer une séquence courte rapide attention-récompense pour les plateformes sociales. Un modèle de storyboard d'accroche TikTok pour les publicités sociales qui arrêtent le défilement.
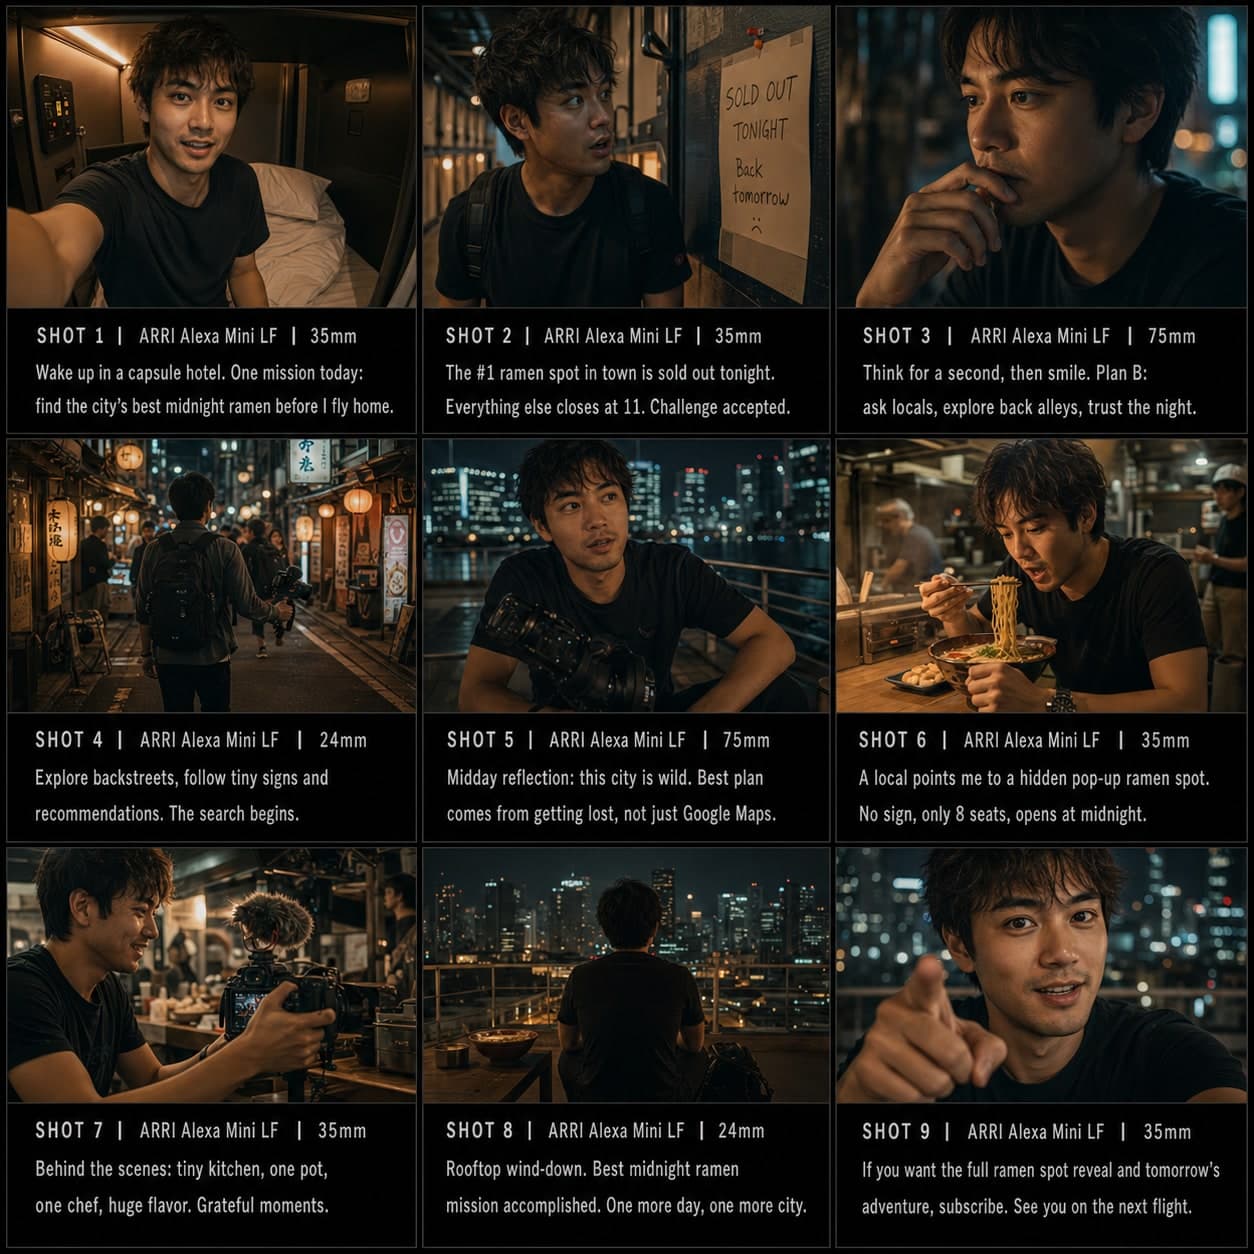 3×3
3×3Modèle de storyboard Vlog YouTube
Structurer un vlog quotidien de style créateur avec des accroches authentiques, des activités et des moments de personnalité. Un modèle de storyboard de vlog quotidien pour YouTube et les créateurs lifestyle.