Modèle de storyboard Rencontre de boss / Monstre
Construire une première rencontre dramatique avec un boss ou une créature puissante à travers l'échelle et la tension. Un modèle de storyboard de rencontre de boss pour les cinématiques de jeu.
À quoi sert ce modèle
Construire une première rencontre dramatique avec un boss ou une créature puissante.
Quand l'utiliser
Idéal pour
- combats de boss
- rencontres de monstres
- cinématiques de jeu
Structure de séquence à 9 panneaux
| # | Plan | Objectif | Caméra |
|---|---|---|---|
| 01 | Environnement dangereux | Établir un lieu menaçant | Plan large |
| 02 | Signe d'alerte | Révéler traces, bruit, ombre ou dégâts | Insert / détail environnement |
| 03 | Le personnage enquête | Montrer l'approche vers le danger | Plan moyen |
| 04 | Indice d'échelle massive | Suggérer la taille sans révélation complète | Plan large partiel |
| 05 | Révélation partielle du monstre | Révéler partie du corps, œil, griffe ou silhouette | Révélation partielle |
| 06 | Révélation complète du boss | Montrer le monstre clairement | Plan large épique |
| 07 | Réaction du personnage | Capturer la peur ou la détermination | Gros plan |
| 08 | Démonstration de menace | Montrer rugissement, attaque ou puissance | Plan d'action dynamique |
| 09 | Début de la confrontation | Terminer avec la bataille sur le point de commencer | Plan final face-à-face |
Établir un lieu menaçant
Révéler traces, bruit, ombre ou dégâts
Montrer l'approche vers le danger
Suggérer la taille sans révélation complète
Révéler partie du corps, œil, griffe ou silhouette
Montrer le monstre clairement
Capturer la peur ou la détermination
Montrer rugissement, attaque ou puissance
Terminer avec la bataille sur le point de commencer
Votre histoire
Décrivez votre scène ou histoire en une phrase. Le prompt ci-dessous se met à jour en temps réel. Laissez vide pour utiliser l'exemple.
Aperçu du Prompt
Create a square 3x3 2048x2048 storyboard grid as a cinematic storyboard infographic showing build a dramatic first encounter with a powerful boss or creature: A knight enters a volcanic cavern and finds claw marks carved through stone. Scale hints, partial body reveals, a full creature reveal, reaction, threat display, and face-off establish the first boss encounter.

Use dark moody high-end film stills, realistic lighting, subtle teal-and-amber color grade, shallow depth of field, atmospheric dust and shadows. Maintain consistent subject identity, wardrobe, location type, visual medium, lighting, and color palette across all panels. If a reference image is provided, use it as the visual anchor for the subject, world, and style; if no reference image is provided, synthesize one coherent world from the story.

Plan the 9 storyboard panels yourself from the story and the template rhythm, then render the final infographic. Story facts must not change: preserve the named relationship, setting, key object, reveal, cause, and emotional meaning from the story. Do not replace the story's key object with a different document, incident, crime, accident, or backstory.

Arrange the storyboard in a clean 3x3 grid with thin black borders. Each tile must have a large crop-safe cinematic image area and a separate dark information strip below it. The image area must contain no text, labels, captions, UI, watermarks, or typography. Put all written information only in the strip below each image.

Sequence rhythm: Dangerous environment → warning sign → character investigates → massive scale → partial reveal → full reveal → character reaction → threat display → confrontation start

Use this template structure as the shot grammar, but adapt every panel to the concrete story:
1. Dangerous environment (top-left) — Wide, 24mm. Purpose: Establish ominous location. Suggested strip pattern: "SHOT 1 | ARRI Alexa Mini LF | 24mm | [write the concrete story beat you plan for this panel]"
2. Warning sign (top-center) — Insert / environment detail, 85mm. Purpose: Reveal tracks, sound, shadow, or damage. Suggested strip pattern: "SHOT 2 | ARRI Alexa Mini LF | 85mm | [write the concrete story beat you plan for this panel]"
3. Character investigates (top-right) — Medium, 35mm. Purpose: Show approach toward danger. Suggested strip pattern: "SHOT 3 | ARRI Alexa Mini LF | 35mm | [write the concrete story beat you plan for this panel]"
4. Massive scale hint (middle-left) — Partial wide, 24mm. Purpose: Suggest size without full reveal. Suggested strip pattern: "SHOT 4 | ARRI Alexa Mini LF | 24mm | [write the concrete story beat you plan for this panel]"
5. Partial monster reveal (center) — Partial reveal, 35mm. Purpose: Reveal body part, eye, claw, or silhouette. Suggested strip pattern: "SHOT 5 | ARRI Alexa Mini LF | 35mm | [write the concrete story beat you plan for this panel]"
6. Full boss reveal (middle-right) — Epic wide, 24mm. Purpose: Show the monster clearly. Suggested strip pattern: "SHOT 6 | ARRI Alexa Mini LF | 24mm | [write the concrete story beat you plan for this panel]"
7. Character reaction (bottom-left) — Close-up, 75mm. Purpose: Capture fear or determination. Suggested strip pattern: "SHOT 7 | ARRI Alexa Mini LF | 75mm | [write the concrete story beat you plan for this panel]"
8. Threat display (bottom-center) — Dynamic action frame, 35mm. Purpose: Show roar, attack, or power. Suggested strip pattern: "SHOT 8 | ARRI Alexa Mini LF | 35mm | [write the concrete story beat you plan for this panel]"
9. Confrontation start (bottom-right) — Face-off final frame, 35mm. Purpose: End with battle about to begin. Suggested strip pattern: "SHOT 9 | ARRI Alexa Mini LF | 35mm | [write the concrete story beat you plan for this panel]"

Each information strip must show the planned panel title, shot metadata, and the concrete story beat in plain English. The strip text must include the story's key object and reveal where relevant, so the sequence cannot be mistaken for a different incident. Use clear numbered scene titles, compact metadata, and concise action subtitles in the information strips. Use plain text only: no emojis, no decorative symbols, no fake app UI text, and no real brand logos or copyrighted marks. Make each panel visually distinct through shot scale, camera angle, lens feeling, blocking, foreground/background layering, and subject movement. Exactly 9 panels, no extra panels, no merged panels, no duplicate compositions, no speech bubbles, no lorem ipsum, high-detail professional storyboard sheet.
Copiez le prompt et collez-le dans ChatGPT avec votre image de référence pour générer un storyboard. chatgpt.com →
Modèles similaires
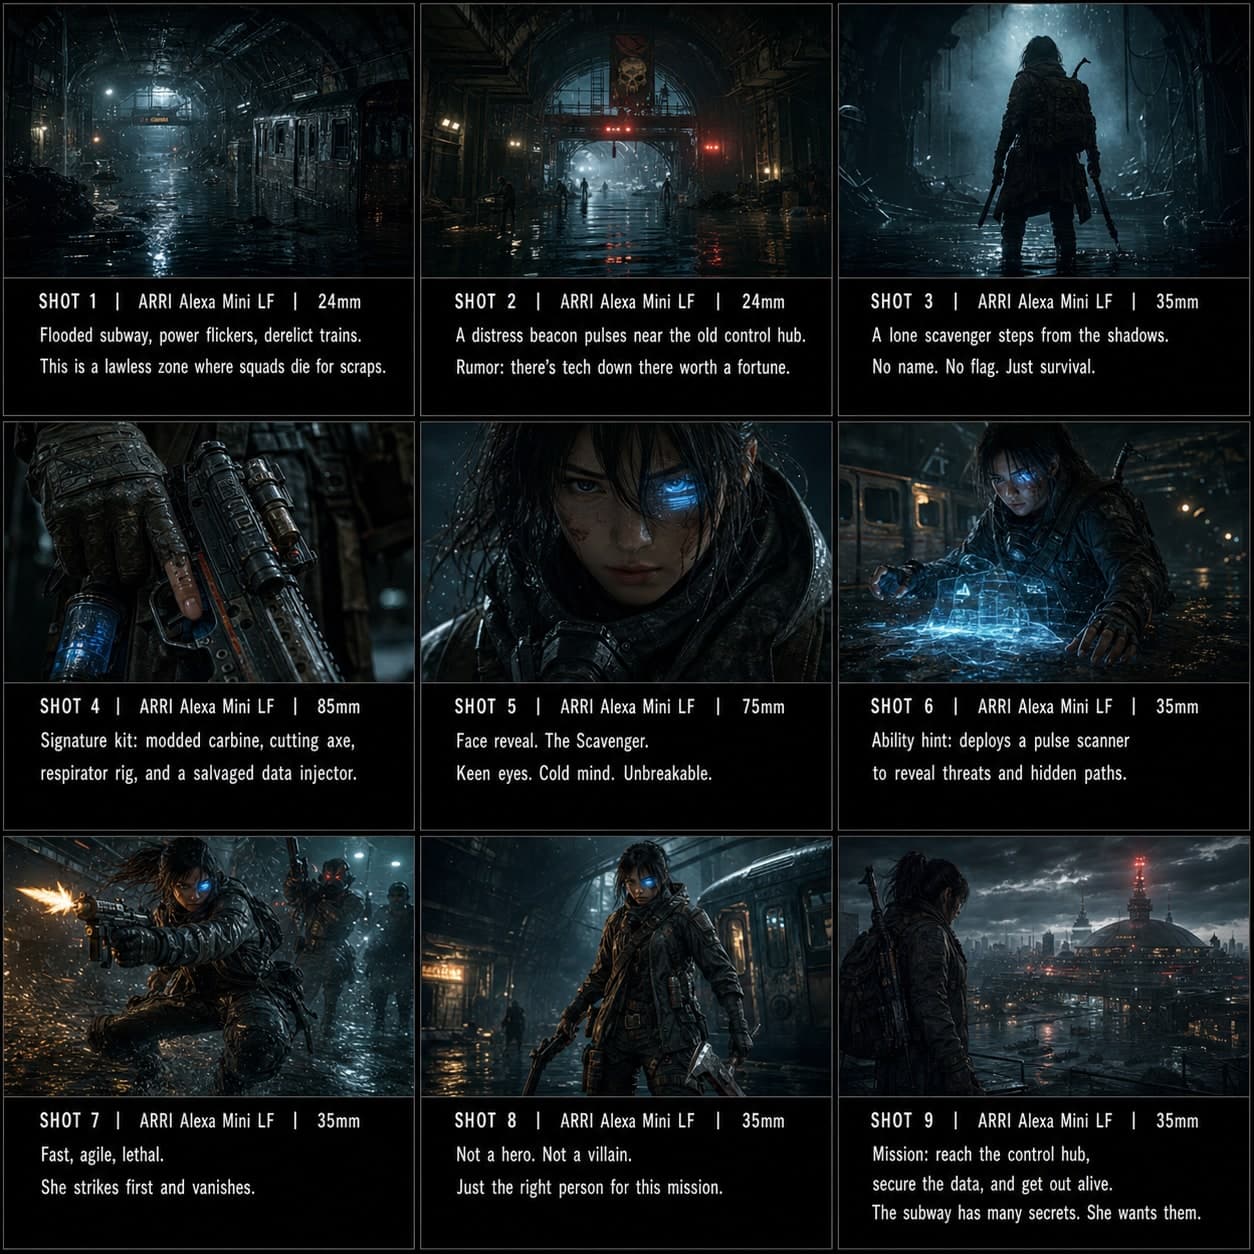 3×3
3×3Modèle de storyboard Révélation de personnage de jeu
Introduire un personnage jouable avec lore, attitude et identité de combat dans une révélation cinématique. Un modèle de storyboard de personnage de jeu pour les bandes-annonces.
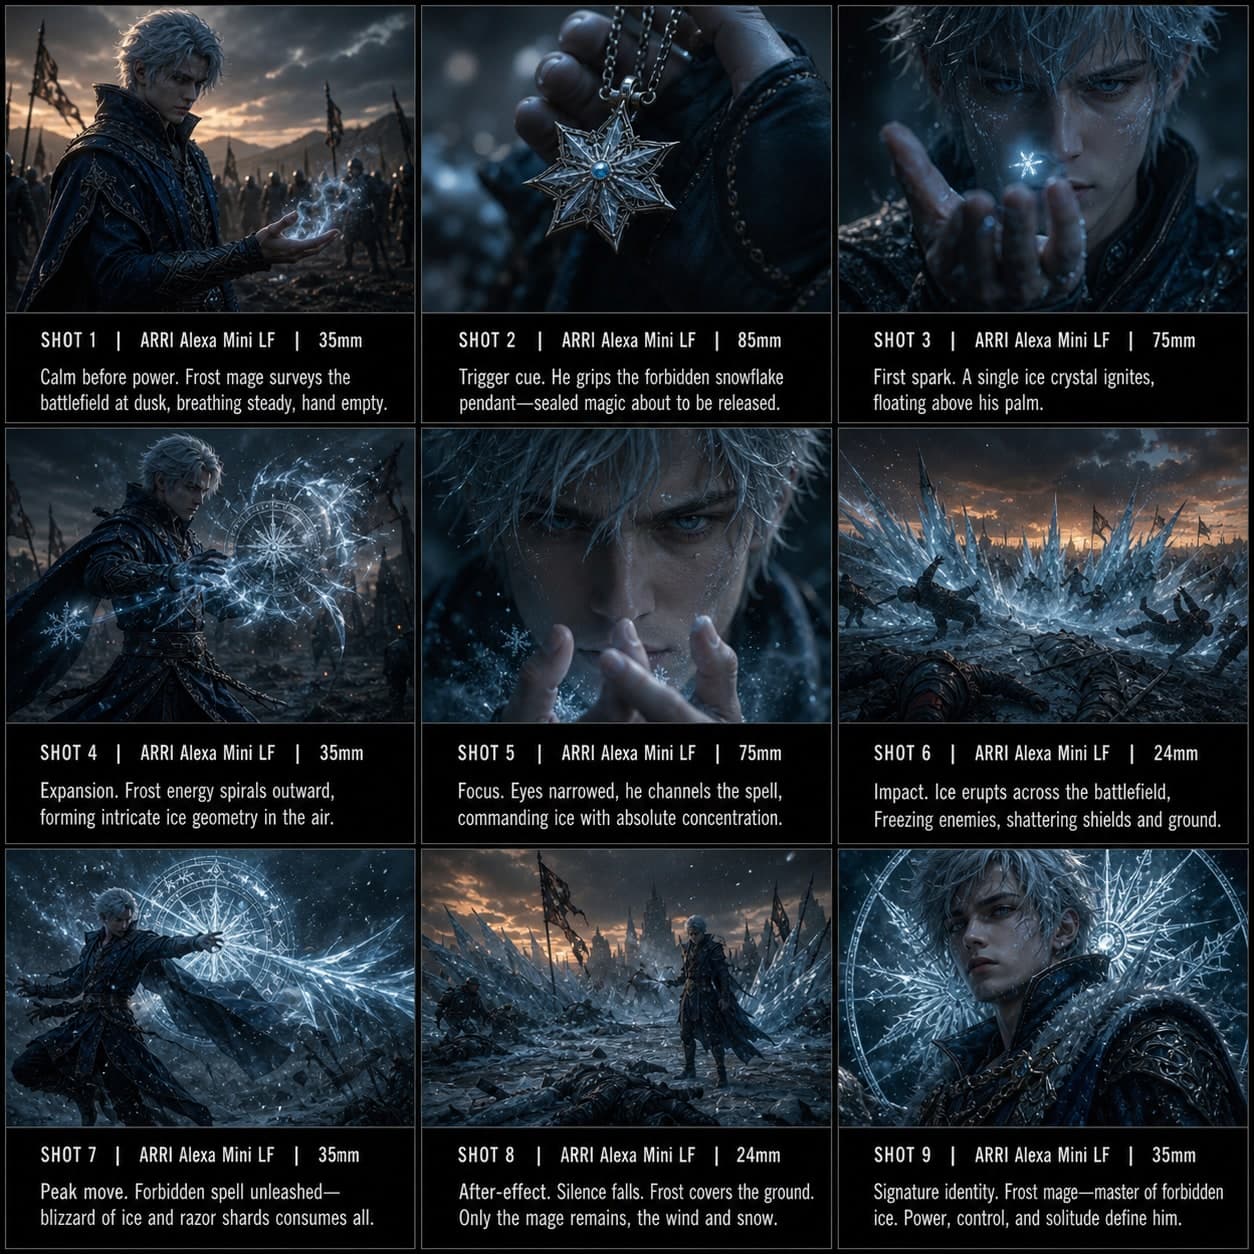 3×3
3×3Modèle de storyboard Démonstration de pouvoir
Mettre en valeur le pouvoir signature d'un personnage dans une séquence stylée, du déclencheur à l'impact maximal. Un modèle de storyboard de démonstration de pouvoir pour le contenu jeu et anime.