BAB-Transformation Storyboard-Vorlage
Vorher, Nachher, Brücke-Transformation für Makeover- und Verbesserungserzählungen zeigen. Eine BAB-Transformations-Storyboard-Vorlage für Vorher-Nachher-Inhalte.
Wofür diese Vorlage gedacht ist
Vorher → Nachher → Brücke-Transformation zeigen.
Wann sie eingesetzt wird
Ideal für
- Transformationsgeschichten
- Vorher-Nachher-Enthüllungen
- Makeover-Inhalte
9-Panel-Sequenzstruktur
| # | Einstellung | Zweck | Kamera |
|---|---|---|---|
| 01 | Vorher-Zustand | Aktuellen Zustand zeigen | Totale |
| 02 | Vorher-Schmerzpunkt | Zeigen, was falsch ist | Insert / Nahaufnahme |
| 03 | Wunsch oder Aspiration | Bessere Zukunft andeuten | Aspirations-Bild |
| 04 | Brücke eingeführt | Methode oder Produkt zeigen | Produkt- / Methoden-Enthüllung |
| 05 | Prozess beginnt | Transformation starten | Prozess-Einstellung |
| 06 | Sichtbarer Fortschritt | Veränderung zeigen | Halbzeit-Vergleich |
| 07 | Nachher-Enthüllung | Ergebnis enthüllen | Helden-Enthüllung |
| 08 | Emotionale Belohnung | Zufriedenheit zeigen | Reaktions-Einstellung |
| 09 | Transformations-Claim | Mit Vorher/Nachher-Bedeutung enden | CTA / Vergleich |
Aktuellen Zustand zeigen
Zeigen, was falsch ist
Bessere Zukunft andeuten
Methode oder Produkt zeigen
Transformation starten
Veränderung zeigen
Ergebnis enthüllen
Zufriedenheit zeigen
Mit Vorher/Nachher-Bedeutung enden
Ihre Geschichte
Beschreiben Sie Ihre Szene oder Geschichte in einem Satz. Der Prompt unten aktualisiert sich in Echtzeit. Leer lassen, um die Beispielgeschichte zu verwenden.
Prompt-Vorschau
Create a square 3x3 2048x2048 storyboard grid as a cinematic storyboard infographic showing show before → after → bridge transformation: A small bakery starts with slow foot traffic and hand-written order chaos. The template shows the struggling before state, the online ordering bridge, and the after state: a smoother counter, happier customers, and sold-out trays.

Use dark moody high-end film stills, realistic lighting, subtle teal-and-amber color grade, shallow depth of field, atmospheric dust and shadows. Maintain consistent subject identity, wardrobe, location type, visual medium, lighting, and color palette across all panels. If a reference image is provided, use it as the visual anchor for the subject, world, and style; if no reference image is provided, synthesize one coherent world from the story.

Plan the 9 storyboard panels yourself from the story and the template rhythm, then render the final infographic. Story facts must not change: preserve the named relationship, setting, key object, reveal, cause, and emotional meaning from the story. Do not replace the story's key object with a different document, incident, crime, accident, or backstory.

Arrange the storyboard in a clean 3x3 grid with thin black borders. Each tile must have a large crop-safe cinematic image area and a separate dark information strip below it. The image area must contain no text, labels, captions, UI, watermarks, or typography. Put all written information only in the strip below each image.

Sequence rhythm: Before state → pain → aspiration → bridge → process → progress → after reveal → payoff

Use this template structure as the shot grammar, but adapt every panel to the concrete story:
1. Before state (top-left) — Wide, 24mm. Purpose: Show current state. Suggested strip pattern: "SHOT 1 | ARRI Alexa Mini LF | 24mm | [write the concrete story beat you plan for this panel]"
2. Before pain detail (top-center) — Insert / close-up, 85mm. Purpose: Show what is wrong. Suggested strip pattern: "SHOT 2 | ARRI Alexa Mini LF | 85mm | [write the concrete story beat you plan for this panel]"
3. Desire or aspiration (top-right) — Aspirational frame, 35mm. Purpose: Hint at better future. Suggested strip pattern: "SHOT 3 | ARRI Alexa Mini LF | 35mm | [write the concrete story beat you plan for this panel]"
4. Bridge introduced (middle-left) — Product / method reveal, 35mm. Purpose: Show the method or product. Suggested strip pattern: "SHOT 4 | ARRI Alexa Mini LF | 35mm | [write the concrete story beat you plan for this panel]"
5. Process begins (center) — Process shot, 35mm. Purpose: Start transformation. Suggested strip pattern: "SHOT 5 | ARRI Alexa Mini LF | 35mm | [write the concrete story beat you plan for this panel]"
6. Visible progress (middle-right) — Midpoint comparison, 35mm. Purpose: Show change happening. Suggested strip pattern: "SHOT 6 | ARRI Alexa Mini LF | 35mm | [write the concrete story beat you plan for this panel]"
7. After reveal (bottom-left) — Hero reveal, 35mm. Purpose: Reveal result. Suggested strip pattern: "SHOT 7 | ARRI Alexa Mini LF | 35mm | [write the concrete story beat you plan for this panel]"
8. Emotional payoff (bottom-center) — Reaction shot, 35mm. Purpose: Show satisfaction. Suggested strip pattern: "SHOT 8 | ARRI Alexa Mini LF | 35mm | [write the concrete story beat you plan for this panel]"
9. Transformation claim (bottom-right) — CTA / comparison, 35mm. Purpose: End with before/after meaning. Suggested strip pattern: "SHOT 9 | ARRI Alexa Mini LF | 35mm | [write the concrete story beat you plan for this panel]"

Each information strip must show the planned panel title, shot metadata, and the concrete story beat in plain English. The strip text must include the story's key object and reveal where relevant, so the sequence cannot be mistaken for a different incident. Use clear numbered scene titles, compact metadata, and concise action subtitles in the information strips. Use plain text only: no emojis, no decorative symbols, no fake app UI text, and no real brand logos or copyrighted marks. Make each panel visually distinct through shot scale, camera angle, lens feeling, blocking, foreground/background layering, and subject movement. Exactly 9 panels, no extra panels, no merged panels, no duplicate compositions, no speech bubbles, no lorem ipsum, high-detail professional storyboard sheet.
Kopieren Sie den Prompt und fügen Sie ihn zusammen mit Ihrem Referenzbild in ChatGPT ein, um ein Storyboard-Blatt zu generieren. chatgpt.com →
Ähnliche Vorlagen
 3×3
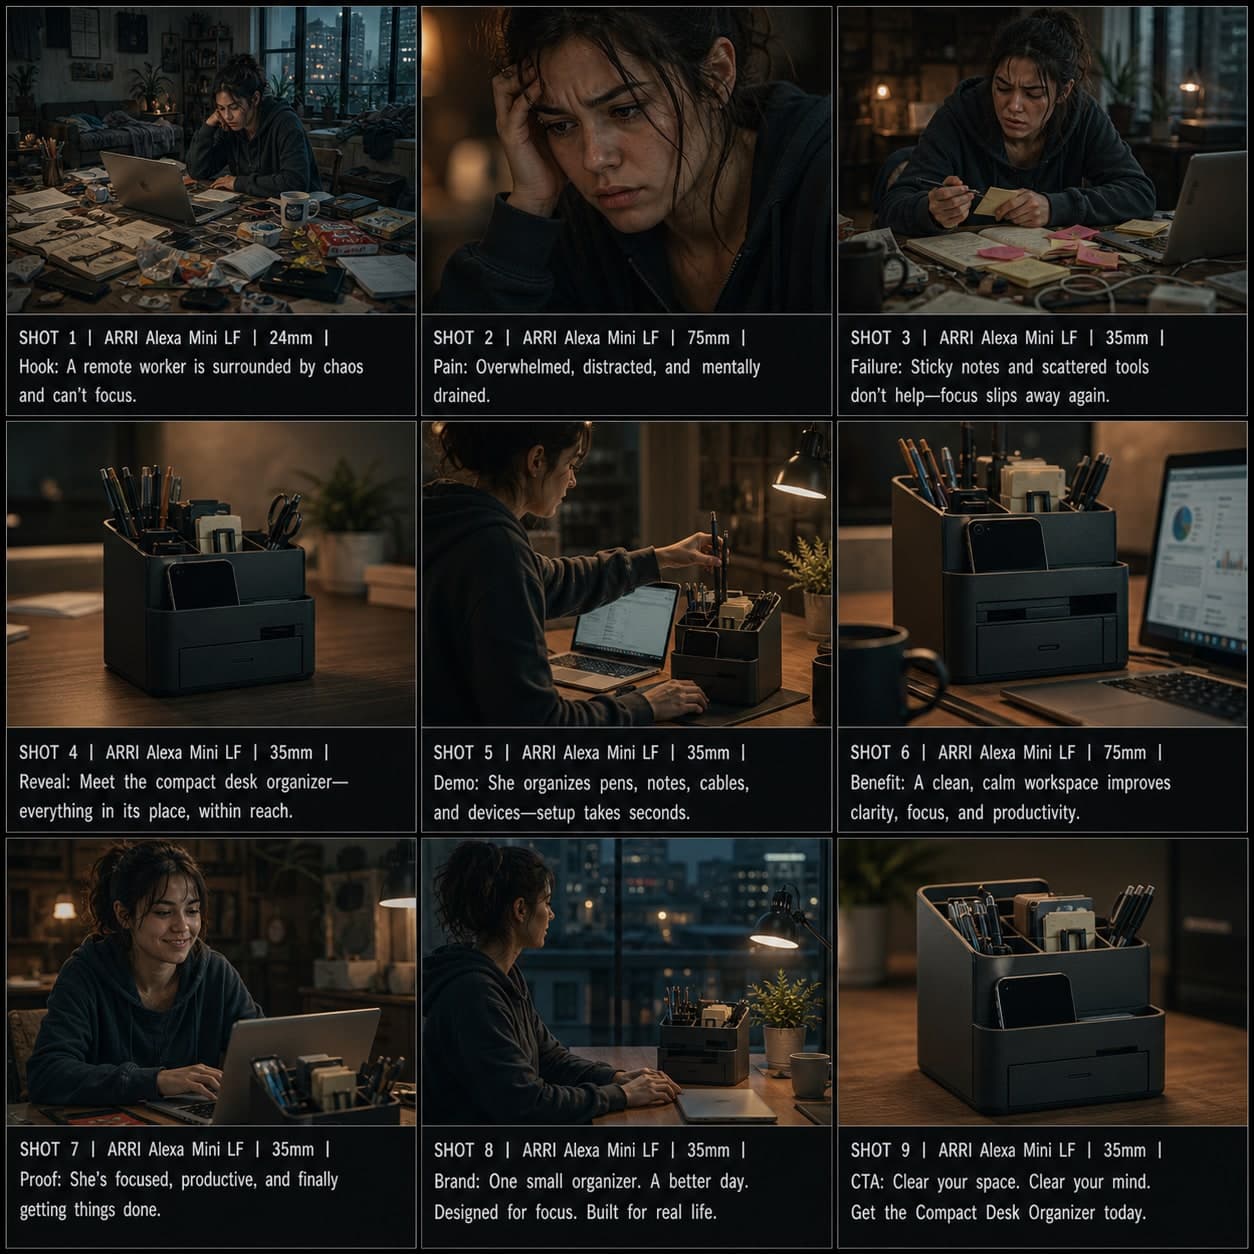
3×3Problem-Lösung Werbe-Storyboard-Vorlage
Ein Produkt als Lösung eines klaren Problems präsentieren – vom Hook über die Demo, den Beweis bis zum CTA. Eine Problem-Lösung-Werbe-Storyboard-Vorlage.
 3×3
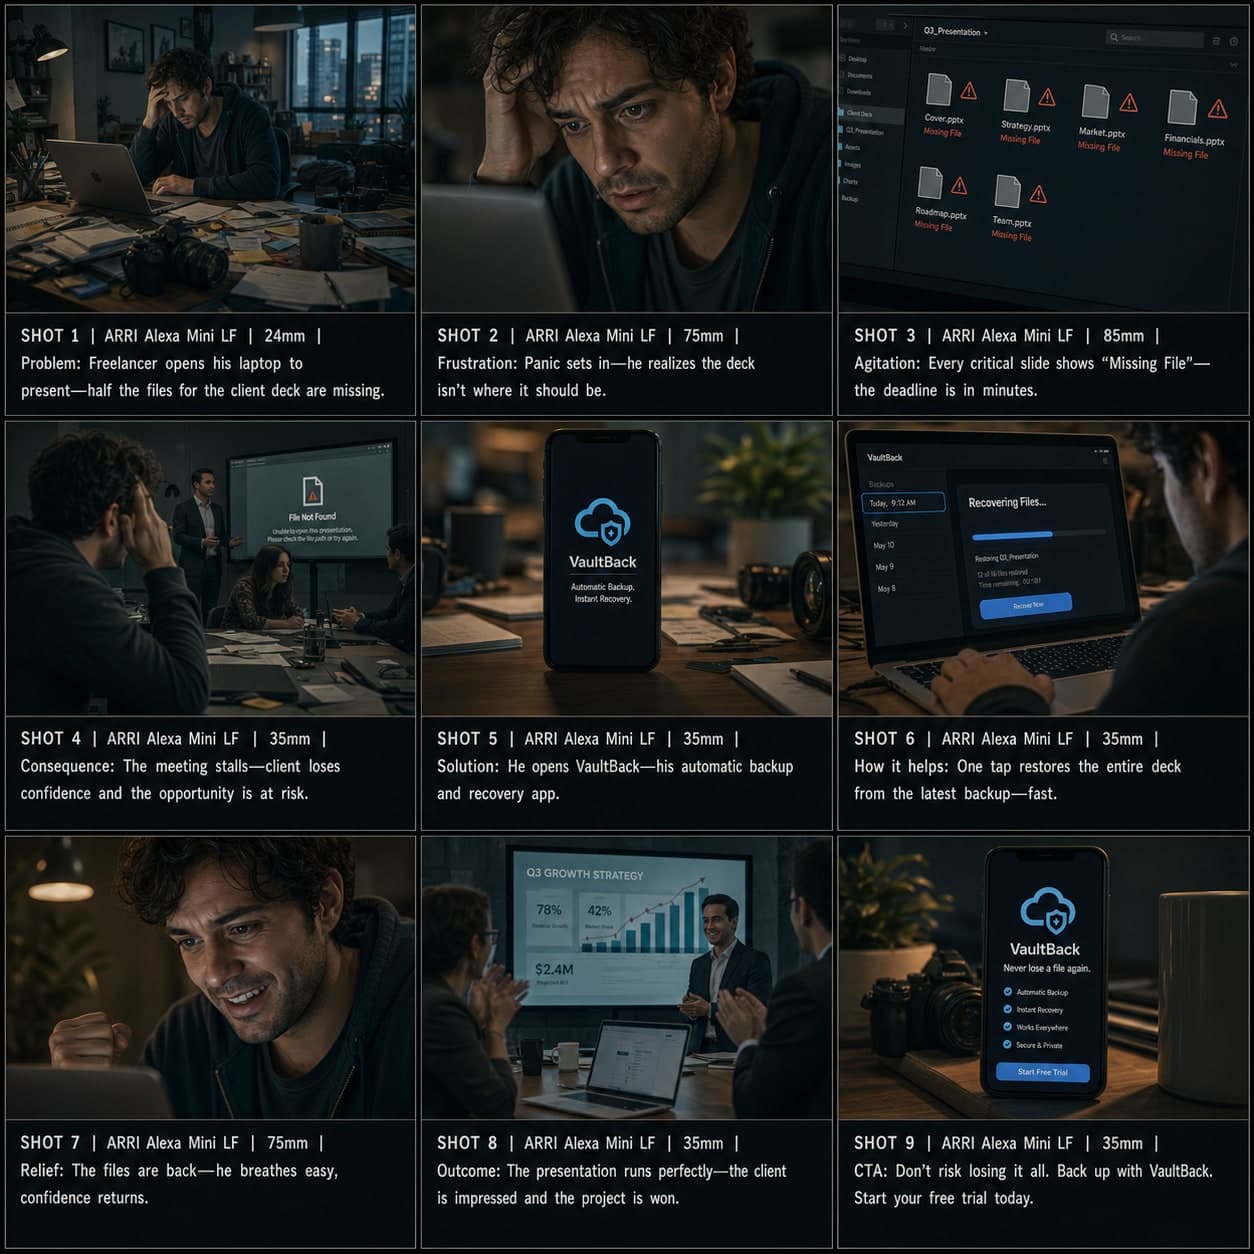
3×3PAS-Werbung Storyboard-Vorlage
Problem, Verstärkung, Lösung-Struktur für konversionsorientierte Videowerbung verwenden. Eine PAS-Werbe-Storyboard-Vorlage für Direct-Response- und Schmerzpunkt-Marketing.
 3×3
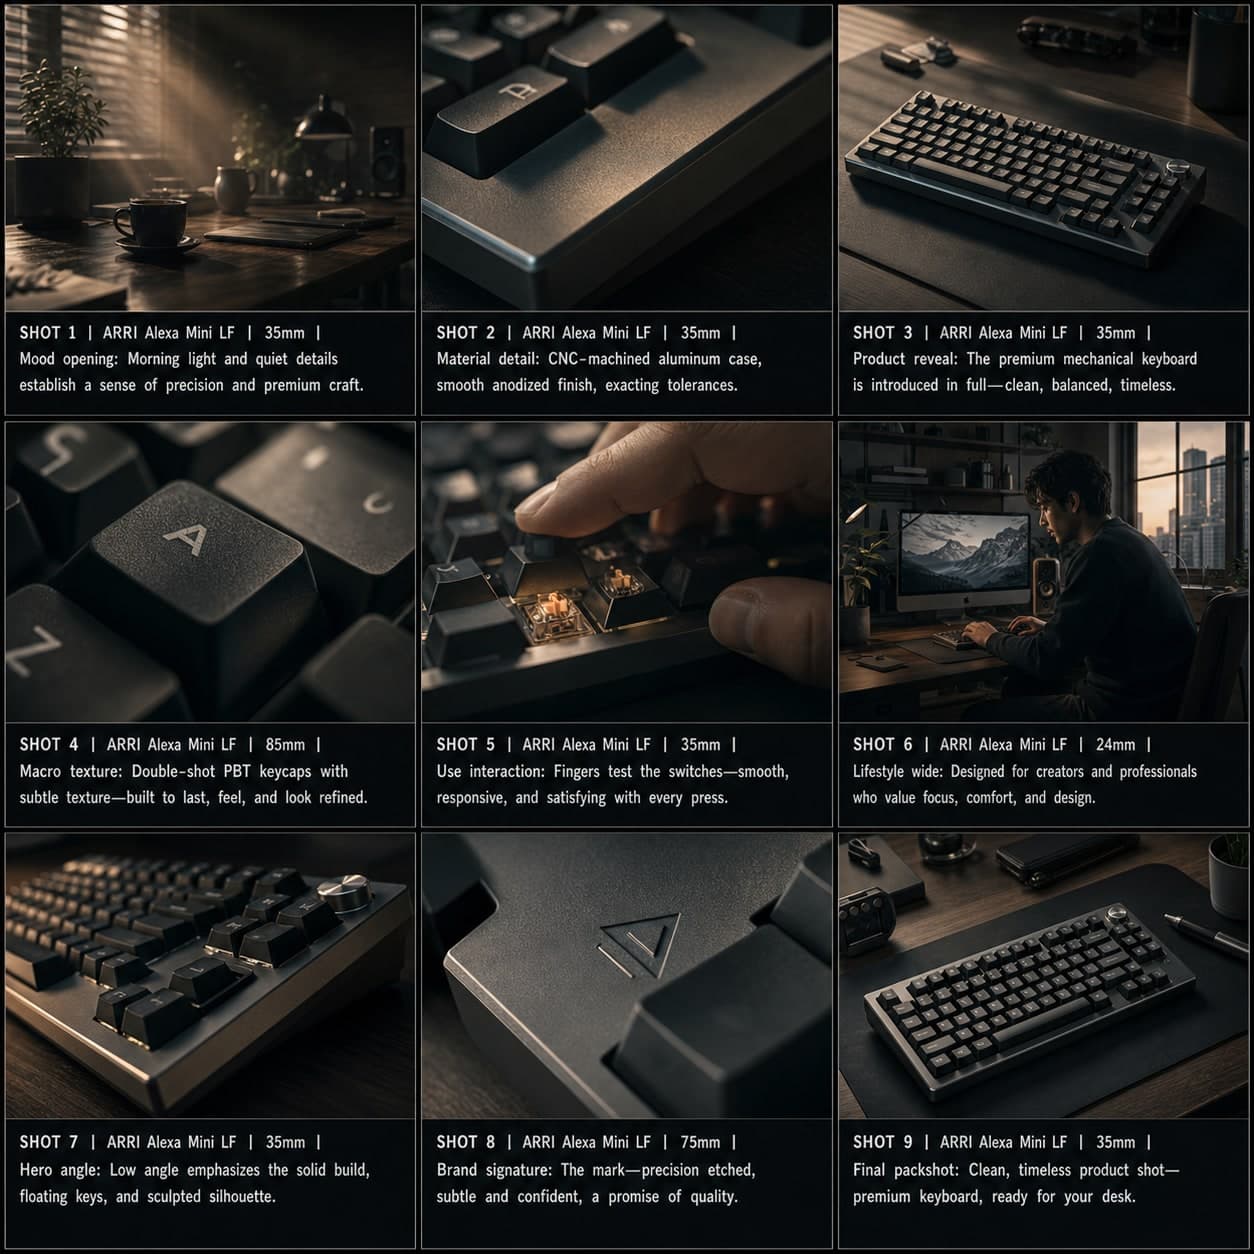
3×3Produktschönheit / Heldenprodukt Storyboard-Vorlage
Eine Premium-Produktschönheitssequenz vom Stimmungsöffner über Makrotexturen bis zum Packshot erstellen. Eine Produktschönheits-Storyboard-Vorlage für Luxusmarken.